Nail art is like a fun canvas for your creativity! Whether you're looking to impress your friends or just want to brighten your day, there are simple designs anyone can master. From playful polka dots to chic stripes, you won't need to be a pro. Ready to enhance your nail game? Let's investigate some easy DIY ideas that will have your nails looking fabulous in no time!
Polka Dot Delight
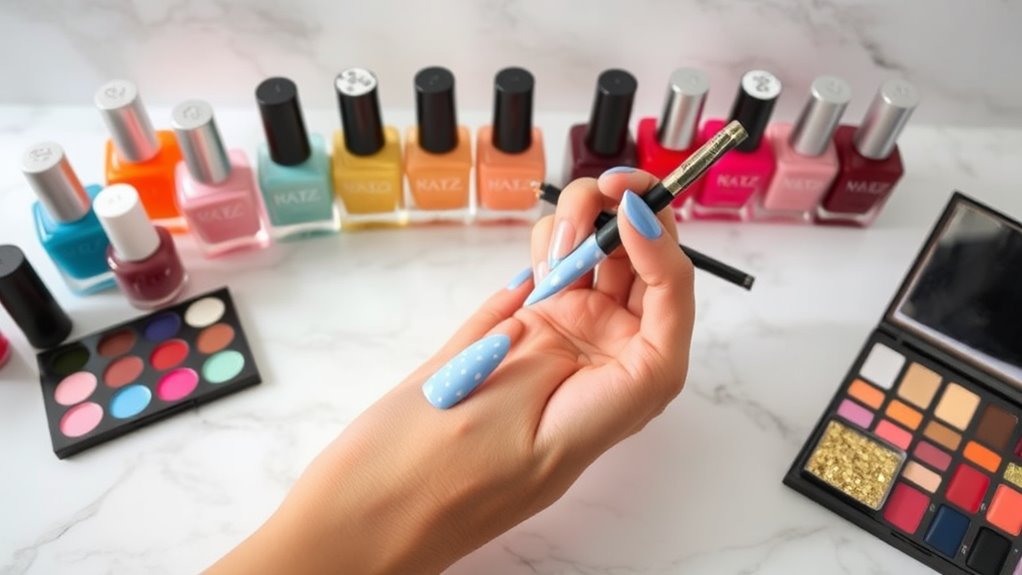
Polka dots are a fun and playful way to jazz up your nails! You don't need to be a pro to create this cute design.
Start with a solid base coat in your favorite color. Once it's dry, grab a dotting tool or even the end of a bobby pin. Dip it into a contrasting polish and gently press it onto your nails to create dots. You can go big or tiny—totally up to you!
Mix and match colors for extra flair. If you mess up, don't sweat it; just paint over it and try again. Finish with a top coat to seal your masterpiece.
You'll be rocking polka dots in no time, and everyone will want to know your secret!
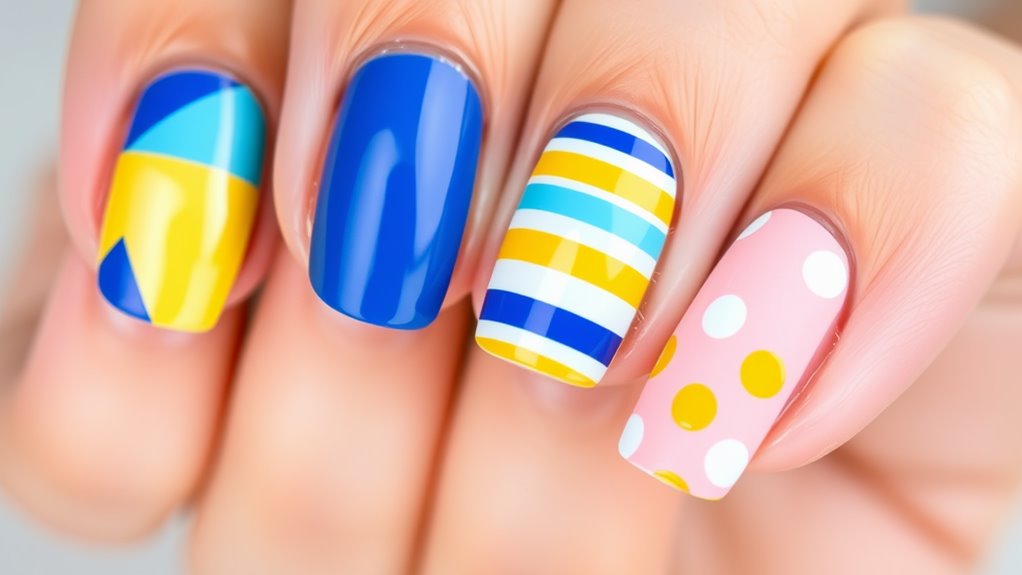
Striped Elegance
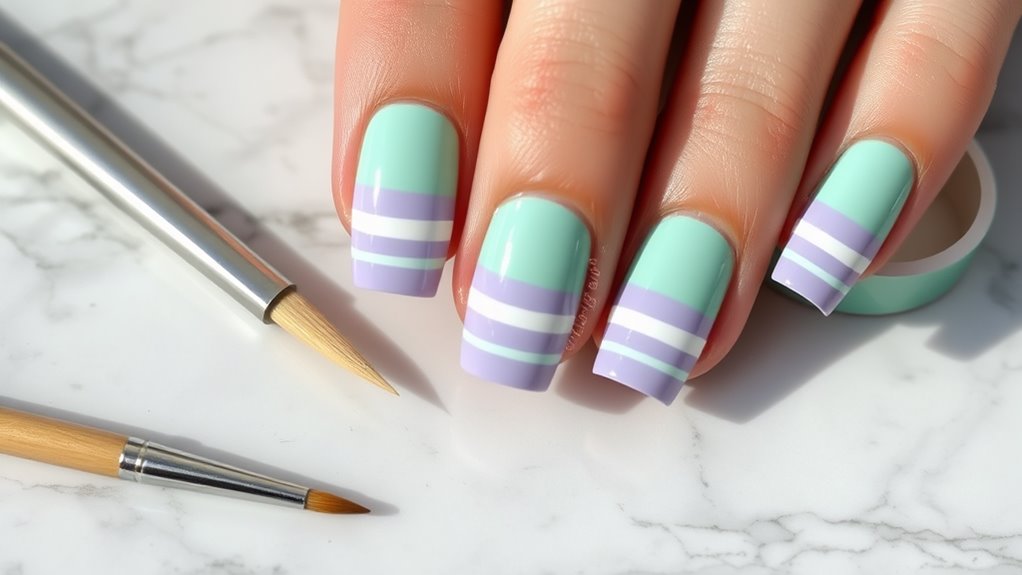
After mastering those playful polka dots, it's time to improve your nail game with stripes! Striped nails are chic and surprisingly easy. Start with a base coat—this keeps your nails healthy and colors vibrant.
Elevate your nail art with chic stripes! Begin with a base coat for vibrant, healthy nails. Happy painting!
Choose two or three complementary colors; think bold and fun! For the stripes, you can use striping tape or a fine brush. If you're feeling adventurous, try diagonal or vertical lines.
Don't stress about perfection; the beauty of striped nails is in their uniqueness! Proper nail preparation is essential to ensure your stripes adhere well and last longer.
Once you've painted your stripes, seal it all with a top coat for shine and protection.
You'll love how quickly you can switch up your style. Prepare to show off your fabulous, striped elegance! Happy painting!
Ombre Effect
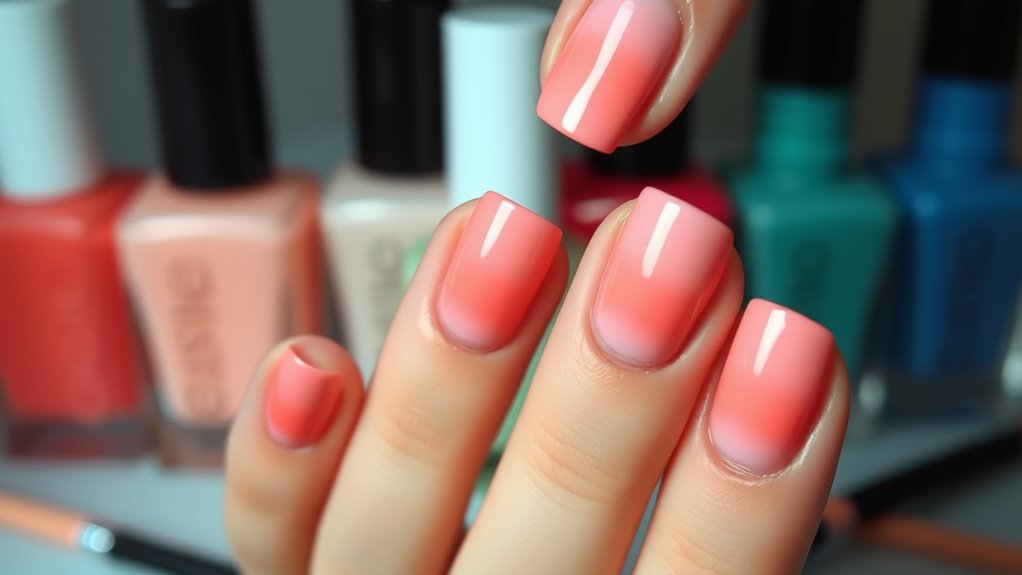
The ombre effect is a fantastic way to add a splash of color and dimension to your nails! It's super easy, and trust me, you'll love the results.
Start with two colors that blend well together, like pink and purple. Paint your nails with the lighter color initially.
Then, take a makeup sponge, dab it in the darker shade, and gently press it onto the tip of your nails. This creates that cool gradient look.
Don't worry if it's not perfect; imperfections give it character! Additionally, make sure your nails are properly prepared by following the gel nail preparation guide before starting your design. Seal everything with a topcoat for shine and durability.
Experiment with different color combos to match your mood. Before you know it, you'll be rocking ombre nails like a pro! Go for it!
Floral Fantasy
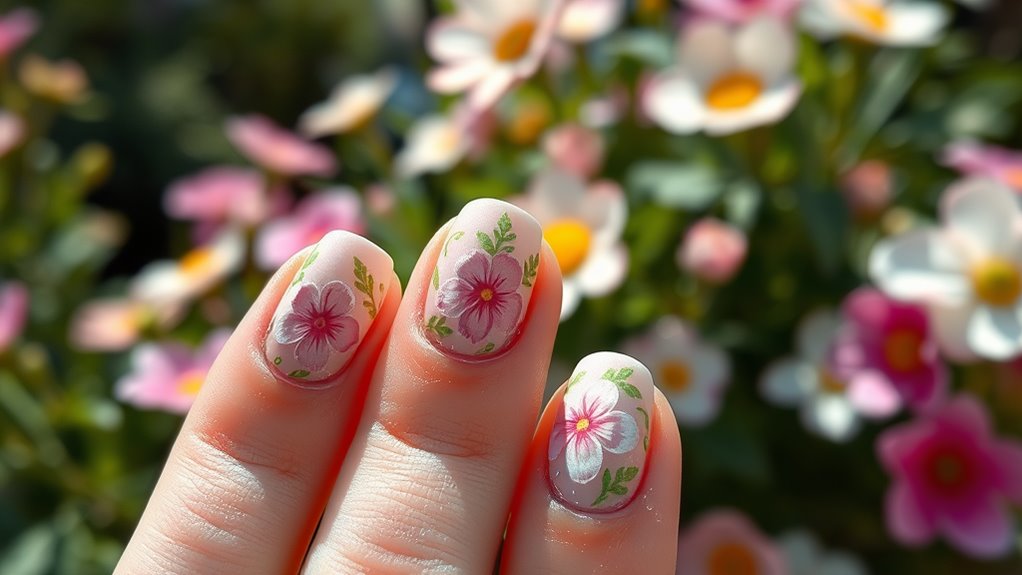
Floral designs can transform your nails into a blossoming masterpiece! You don't need to be a pro to create stunning flowers. Start by picking a base color—pastels work wonders.
Once that's dry, grab a thin brush or a dotting tool. Dip it in a contrasting color and make small dots for flower centers. Then, use the brush to add petals around those dots. You can go for simple daisies or intricate roses; it's totally up to you!
Don't stress about perfection; the beauty lies in the uniqueness. Finish with a top coat to seal your floral art. Trust me, your nails will look fabulous and fresh.
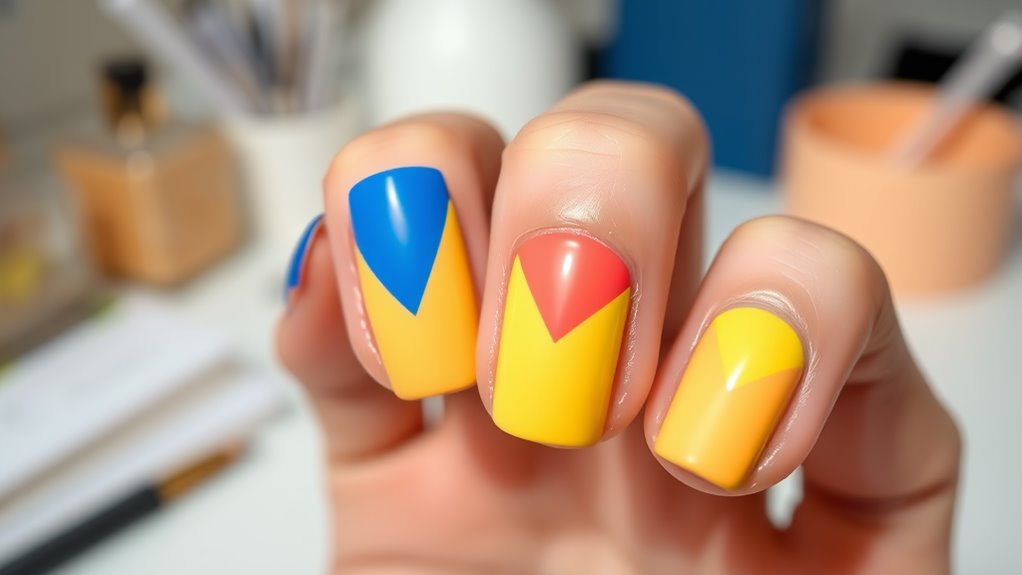
Geometric Patterns
Ready to switch things up from sweet flowers to sharp lines? Geometric patterns are an awesome way to get creative with your nails! You can try triangles, stripes, or even chevrons. Grab some tape to create crisp edges and make those designs pop.
Start by painting your base color, then let it dry completely. Use tape to outline your shapes, paint over them, and peel the tape off while it's still wet. Voila! You've got a sleek design.
Paint your base color and let it dry. Use tape to outline shapes, paint over, and peel off for a sleek design!
Mix and match colors to keep things fun. Don't be afraid to experiment! If you mess up, it's just nail polish—paint over it and try again.
You've got this; geometric patterns are a fantastic choice for any nail art beginner!
Glitter Gradient
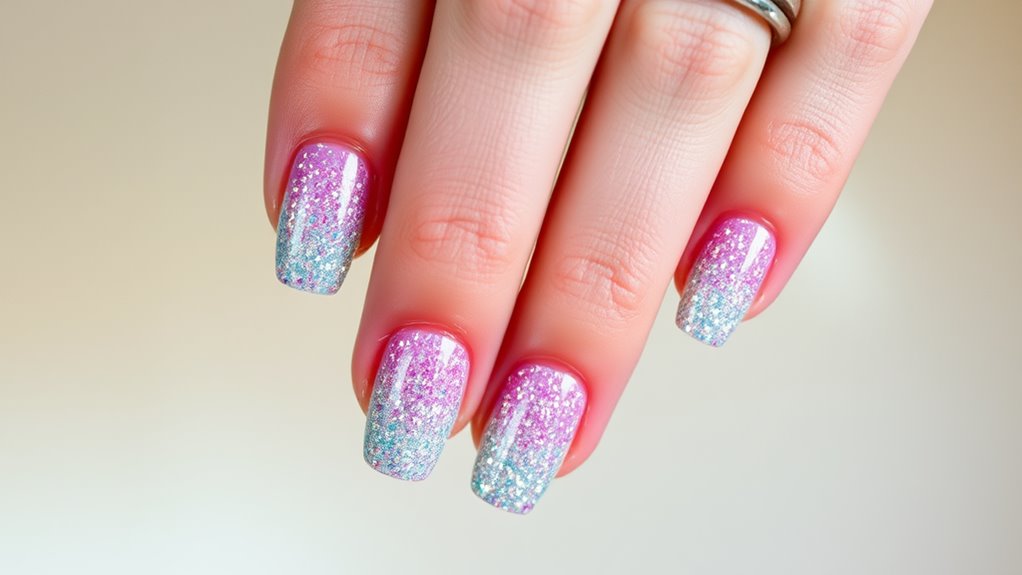
If you want your nails to sparkle like the night sky, a glitter gradient is the way to go! This fun technique is super easy and totally eye-catching.
Start with a base coat in your favorite color. Once it's dry, grab a makeup sponge and your glitter polish.
Dab the glitter on the sponge and gently tap it onto the tips of your nails. The key is to build up the glitter gradually. You can blend it down towards the base for a smooth shift.
Finish with a top coat to seal everything in and add shine.
And there you have it! Your nails are now a shimmering masterpiece. Trust me, everyone will be asking how you did it!
Negative Space Art
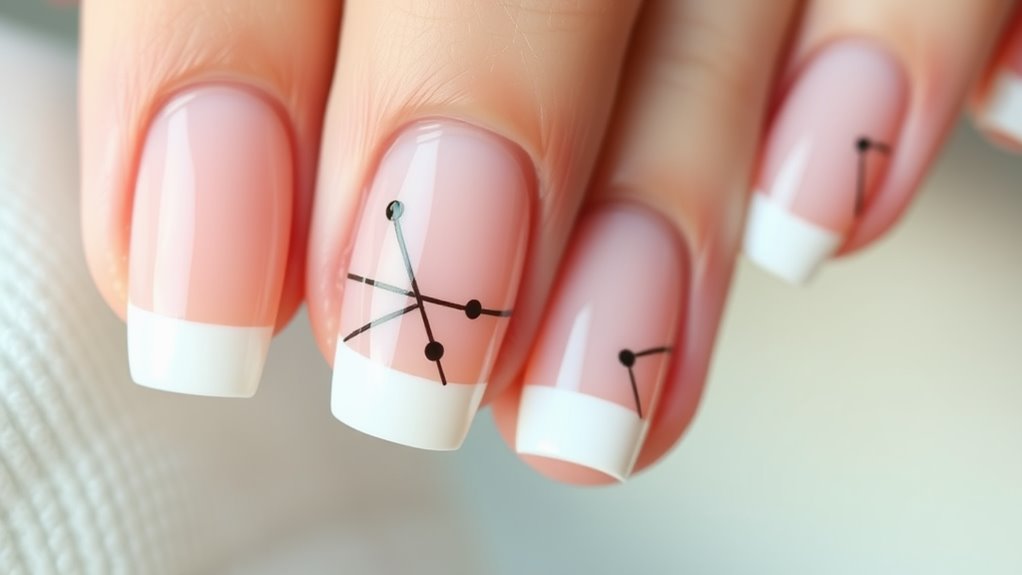
Negative space art is all about embracing the bare spots on your nails. It's a fun way to create eye-catching designs without needing tons of colors. You'll love how simple it is!
Start by painting your nails with a base color—something light works great. Then, using tape or a fine brush, create shapes or lines that leave some of your nail bare. Think triangles, stripes, or even geometric patterns.
Once you've got your design, fill in the shapes with a contrasting color. Peel off the tape carefully, and voilà! You've crafted a chic negative space look. Remember to clean and sanitize your nails before starting to ensure a safe environment for your nail art.
This style is perfect for beginners, as it allows for mistakes without ruining the complete effect. So, go ahead and give it a try!
Color Block Chic
Color blocking is one of the coolest nail art trends you can try! It's super fun and perfect for beginners. You can mix and match colors to create a unique look that totally reflects your style.
Color blocking is a trendy, fun nail art technique that's perfect for beginners to express their unique style!
Here's how to begin:
- Choose two or three bold colors.
- Use tape to create straight lines on your nails.
- Paint the sections with your chosen colors.
- Let it dry completely before removing the tape.
- Seal with a topcoat for long-lasting wear.
You'll love how easy it's and how quickly you can level up your nail game.
Plus, color blocking gives you endless options for creative expression. So grab your polish and prepare to have some fun!
Marble Magic
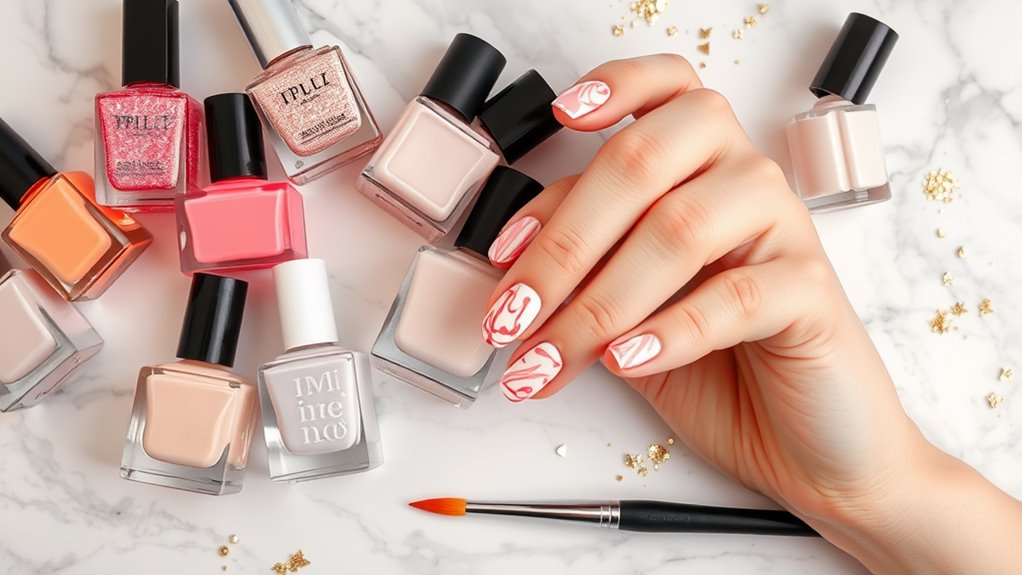
Ready to take your nail art to the next level? Let's plunge into Marble Magic! This technique creates a stunning, swirling effect that mimics real marble.
You'll need a base color, a couple of contrasting polish shades, and a bowl of water. Start by painting your nails with the base color and letting it dry.
Then, drop small dots of the other polishes onto the water's surface. Use a toothpick to swirl the colors together. Immerse your nails in to pick up the design, and voilà! You've got marble nails!
Don't forget to seal everything with a top coat. It's easier than it sounds, and the results are impressive. Get creative, and let your nails shine!
Simple Nail Stickers
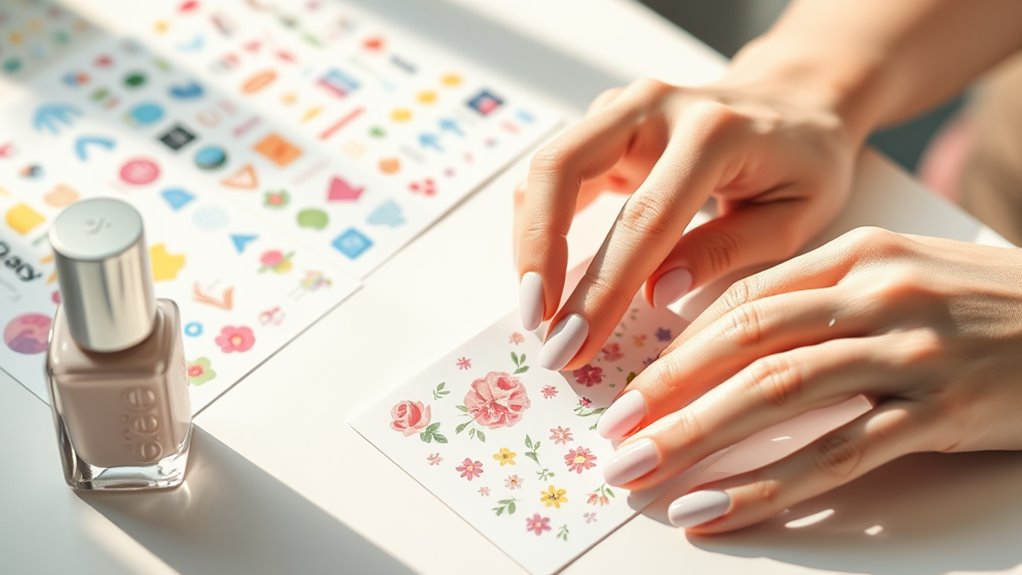
Nail stickers are a game-changer for anyone looking to jazz up their manicure without the fuss.
They're super easy to use and can totally transform your nails in minutes! Plus, there are so many designs to choose from.
Here's why you'll love them:
- Instant nail art without the mess
- Wide variety of designs and themes
- Perfect for last-minute plans
- Beginner-friendly and no special skills needed
- Great for mixing and matching with other nail art
Just peel, stick, and seal with a topcoat.
You'll look like a pro in no time! So, grab some nail stickers and let your creativity shine.
They're the perfect way to express your style with minimal effort!
Conclusion
Now that you've got these fun nail art ideas in your toolkit, it's time to set free your creativity! Picture your nails as mini canvases just waiting for your personal touch. Whether you go for playful polka dots or a chic ombre, each design is a chance to express yourself. So grab those polish bottles, channel your inner artist, and let your nails tell your story. Remember, practice makes perfect, and most significantly, have fun with it!