
Want to rock some unique soap nails at home? It’s easier than you think! You’ll just need to prep your nails and gather a few fun supplies. Trust me, the process is super satisfying, and the results can be stunning. Plus, you can get creative with colors and designs! Ready to learn how to make your soap nails pop? Let’s plunge into the crucial tools you’ll need initially!
Understanding Soap Nails: What Are They?
Soap nails might sound like a quirky trend, but they’re actually a fun and creative way to enhance your manicure. The history of soap nails dates back to the early 2000s, when people started using soap to create intricate designs.
You’ll love how they add a unique flair to your style!
The benefits of soap nails are impressive. They’re easy to do and perfect for beginners. Plus, they’re a fantastic way to express your personality without spending a fortune at a salon.
Essential Tools and Products You’ll Need
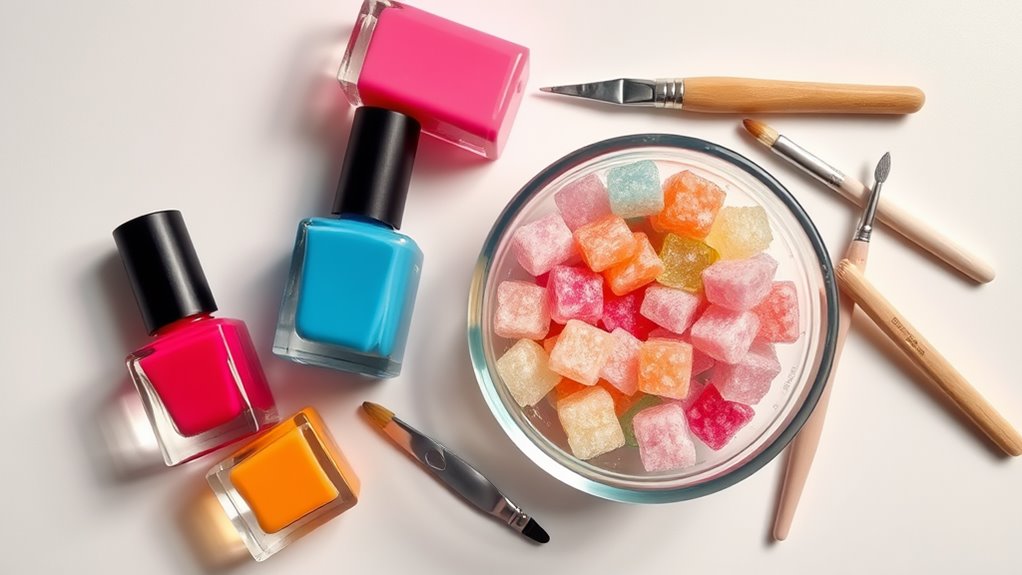
Ready to plunge into the world of soap nails? You’re gonna love it! To get started, you’ll need a few vital tools and products for nail care.
Firstly, grab a quality base coat and top coat—these are critical for a long-lasting finish. Next, pick out colorful soap bars; they’ll be your main ingredient!
Don’t forget a small mixing bowl and a brush for application. You might also want a nail file and cuticle pusher to prep your nails.
As for product selection, go for non-toxic soaps since you’ll be using them on your skin. With these items in hand, you’re all set to create fabulous soap nails!
Now, let’s get those nails ready for action!
Preparing Your Nails for Soap Nail Application
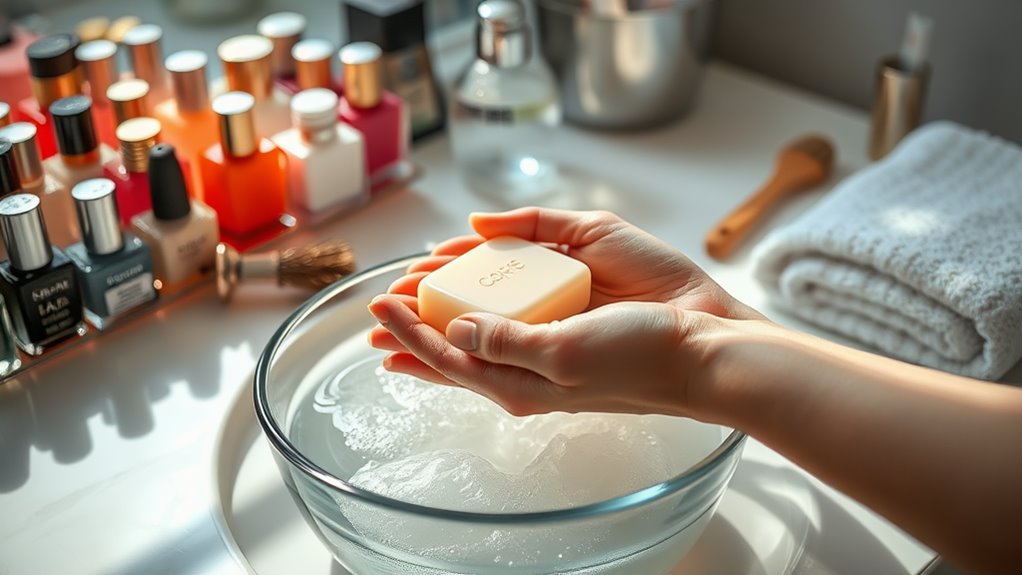
Before diving into the fun of applying your soap nails, it’s essential to prep your nails properly. To begin, wash your hands to guarantee nail hygiene. You want those little guys clean before you start!
Next, check your cuticles. Gently push them back to create a smooth canvas. If they’re looking a bit rough, consider trimming or buffing them, but don’t go overboard! You want healthy cuticles, not bare ones.
Finally, give your nails a quick buff to remove any shine. This helps the soap adhere better. Regularly moisturizing your nails with coconut oil can also improve nail health. Trust me, the prep makes a world of difference.
Once you’ve got everything ready, you’ll be all set to release your creativity with those soap nails! Let’s get started!
Step-by-Step Guide to Creating Soap Nails

Creating stunning soap nails is easier than you might think! Follow these simple steps to enhance your nail care game using soap techniques:
- Choose Your Soap: Pick a soap that smells great and has the right texture. Go for glycerin soap—it’s super easy to work with!
- Melt and Mix: Cut the soap into small pieces, then melt it in a microwave-safe bowl. Stir in colorants or glitter for flair.
- Mold Your Nails: Pour the melted soap into nail molds. Let it sit until solid, then pop them out!
And there you have it! With just a bit of practice, you’ll be creating fabulous soap nails that impress.
Tips for Achieving a Flawless Finish
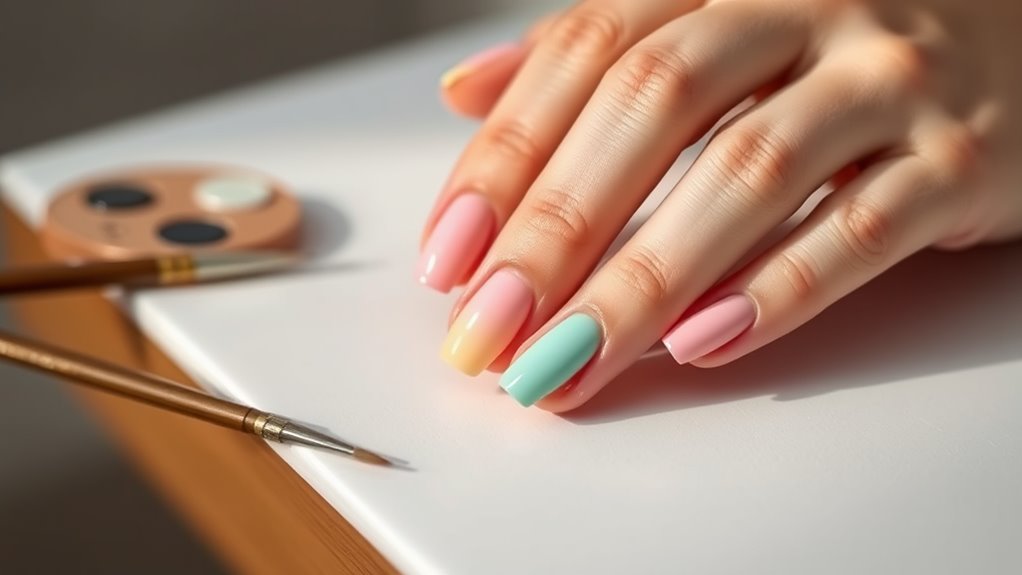
To achieve a flawless finish on your soap nails, focus on the details that make a difference!
Start by prepping your nails with proper nail care. Clean, buff, and moisturize to create a smooth canvas.
Regarding application techniques, use thin layers of soap for even coverage. This helps avoid those pesky bumps and guarantees a sleek look.
Don’t rush; let each layer dry completely before adding the next. For extra shine, consider a top coat or a quick buff once everything’s set.
Don’t forget to clean up the edges with a small brush dipped in rubbing alcohol—this little touch can enhance your nails from good to gorgeous.
Enjoy the process, and have fun showing off your masterpiece!
Common Mistakes to Avoid

Nailing that perfect soap nail look can be tricky, especially if you fall into some common traps.
Avoid these mistakes to keep your nails looking fabulous:
- Skipping Nail Prep: Don’t underestimate the power of a clean, dry surface. If you skip this step, you’re asking for trouble!
- Wrong Product Selection: Not all soaps are created equal. Choose a soap that’s too harsh or too soft, and your nails will suffer.
- Rushing the Process: Patience is key. If you rush, you might end up with uneven or messy results.
Take your time, prep well, and choose the right products.
Your soap nails will shine like never before! Happy crafting!
How to Maintain Your Soap Nails
Once you’ve achieved that stunning soap nail look, keeping them in top shape is crucial! A solid nail care maintenance routine makes all the difference.
Start by applying a quick-drying top coat every few days. It’ll seal in that shine and protect your design.
Don’t forget to moisturize your cuticles! A little cuticle oil goes a long way. You can even use a hand cream to keep your hands feeling fabulous.
Be gentle when washing dishes or doing chores. Wear gloves if you can! It’s a small step that protects your hard work.
Finally, avoid picking at your nails; that can ruin your masterpiece. Moisturized nails are less prone to chipping or splitting, so stick to this routine, and your soap nails will look fresh and fabulous for longer!
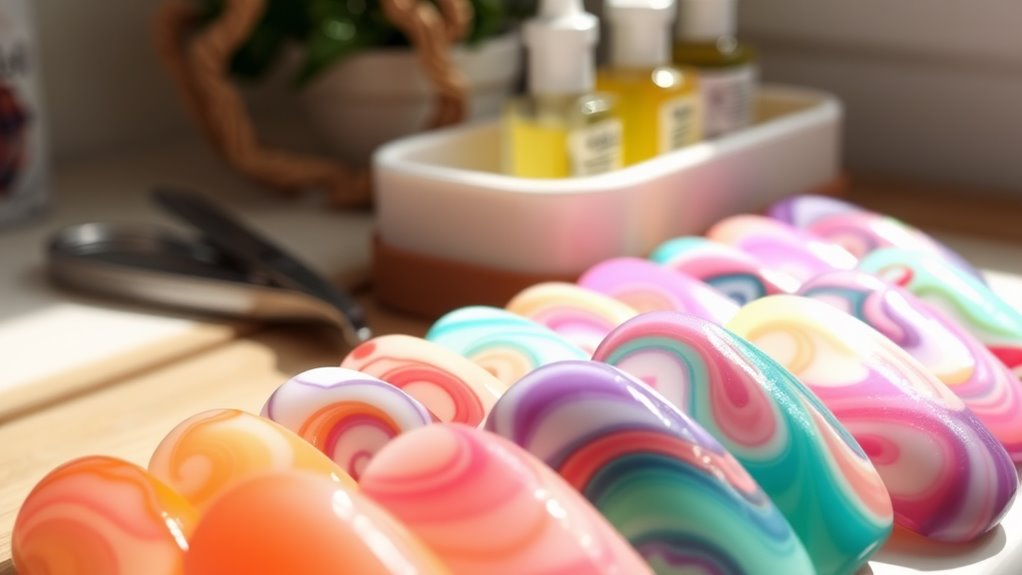
Creative Variations and Nail Art Ideas
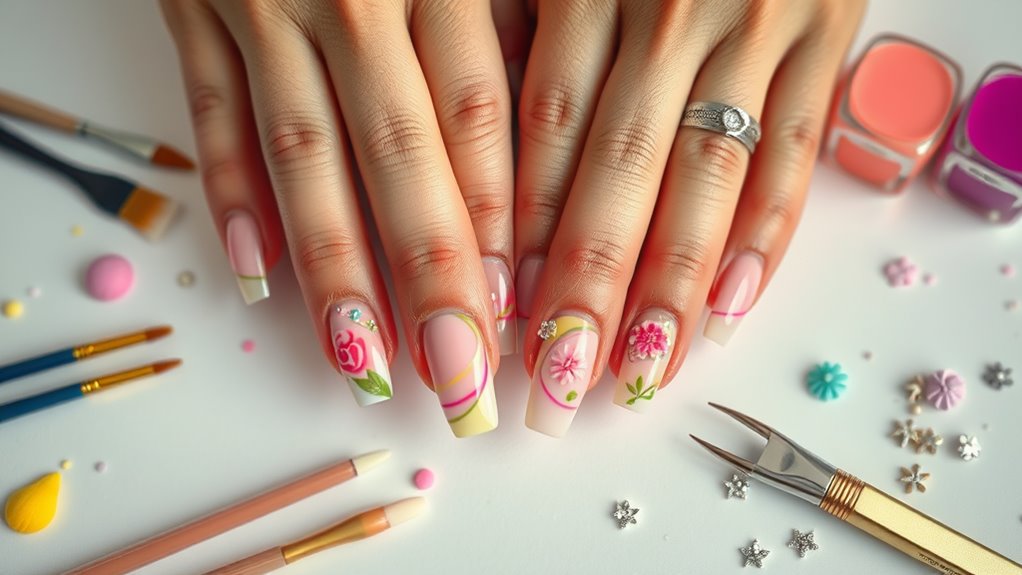
Keeping your soap nails looking fabulous is only half the fun—now it’s time to get creative with some awesome nail art ideas! You can really let your personality shine through with these fun variations:
- Color Combinations: Mix and match bold hues. Think neon pink with electric blue for a pop that catches the eye!
- Design Themes: Go seasonal! Try spooky designs for Halloween or floral patterns for spring.
- Texture Play: Add glitter or matte finishes to create depth and interest. Incorporating minimalist nail art can also provide a fresh twist to your designs.
Experiment with these ideas and don’t be afraid to break the mold. Nail art is all about expressing yourself, so grab those tools and let your creativity flow.
Let your imagination run wild with nail art—embrace creativity and express yourself through vibrant designs!
Your soap nails will be a canvas for your imagination!
Conclusion
Now that you know how to create stunning soap nails, it’s time to release your creativity! Picture your fingers sparkling like a rainbow, glimmering with every gesture. With just a bit of practice, you’ll master this fun art. Remember, it’s all about having fun and expressing yourself. So grab your colorful soap and get started—your nails are about to become a masterpiece! Enjoy the process, and don’t forget to show off your fabulous creations!