Think of prepping your nails like getting ready for a big game. You wouldn't head out without your gear, right? The same goes for gel nails! You're about to transform your look, and it all starts with the right steps. From gathering supplies to applying that perfect color, each step is vital. So, are you ready to learn how to nail this process? Let's explore the fundamental steps that will make your gel nails shine!
Gather Your Supplies
Before diving into the fun of gel nails, you've got to gather your supplies!
Initially, grab a gel polish kit. You'll need base coat, color, and top coat. Next, get a lamp—either UV or LED works great for curing your nails.
Don't forget nail files and buffers to shape your nails perfectly. You'll also want some cuticle oil to keep your nails healthy.
A lint-free wipe and some isopropyl alcohol are crucial for cleaning up, too. Lastly, invest in a good nail cleaner or prep solution.
It's all about safety and ensuring your nails look fabulous!
Now that you've got everything, you're ready to start your gel nail adventure. Let the fun begin!
Remove Old Polish and Clean Nails
Now that you've got all your supplies ready, it's time to take care of those nails! Initially, you need to remove the old polish and clean your nails thoroughly. This step sets the stage for a fabulous gel manicure.
Gather your supplies and prep your nails by removing old polish for a stunning gel manicure!
Here's what you'll need:
- Acetone or non-acetone nail polish remover
- Cotton balls or pads
- Nail file (for any rough edges)
- Cuticle pusher
- Nail brush
Soak the cotton in remover, place it on your nail, and let it sit for a minute. Gently wipe away the polish.
Next, use the cuticle pusher to push back any skin. Ultimately, wash your hands with soap to remove any residue. Your nails will be ready for the next step!
Shape and Buff Your Nails

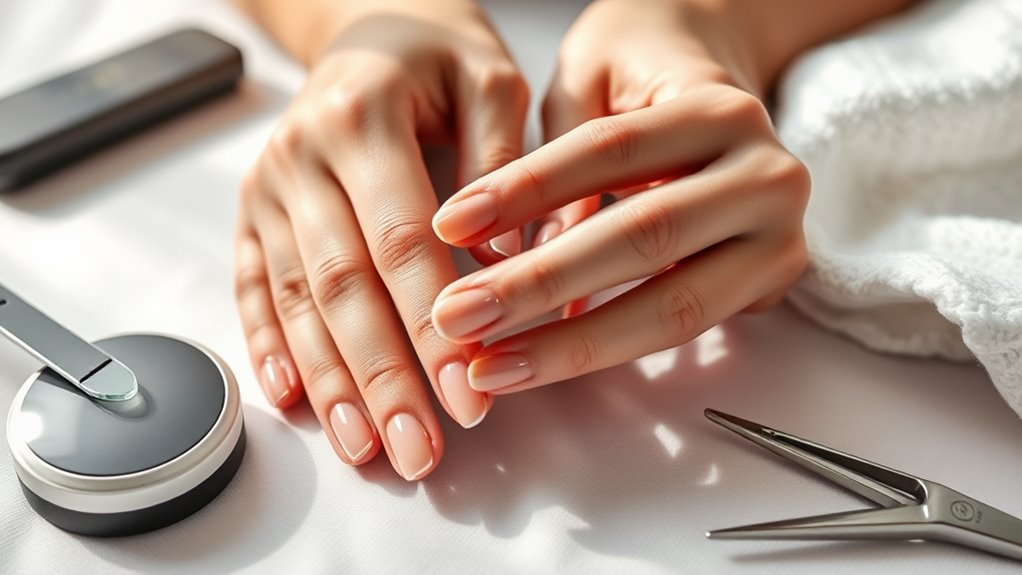
Prepare to shape and buff your nails to perfection! Start by choosing a nail file that suits your needs. A fine-grit file works wonders for shaping without causing damage.
Gently file your nails, moving in one direction to avoid splitting. It's like sculpting—take your time to achieve that perfect shape!
Next, grab a buffer. Buffing is key to creating a smooth surface. Lightly buff each nail, focusing on the edges and surface. This step not only improves appearance but helps the gel adhere better.
Be cautious! Don't overbuff, as this can weaken your nails.
Push Back Cuticles
Ready to tackle those cuticles? It's a vital step in your gel nail prep! Pushing back your cuticles not only makes your nails look neater but also helps the gel adhere better.
Follow these simple steps for a safe and effective process:
- Use a wooden or silicone cuticle pusher for gentleness.
- Soak your fingers in warm, soapy water to soften cuticles.
- Gently push back the cuticles, avoiding any forceful movements.
- Wipe away any excess moisture with a clean towel.
- Always disinfect your tools to prevent germs.
This quick routine sets the stage for beautiful gel nails. You're not just prepping; you're pampering!
Apply Nail Dehydrator

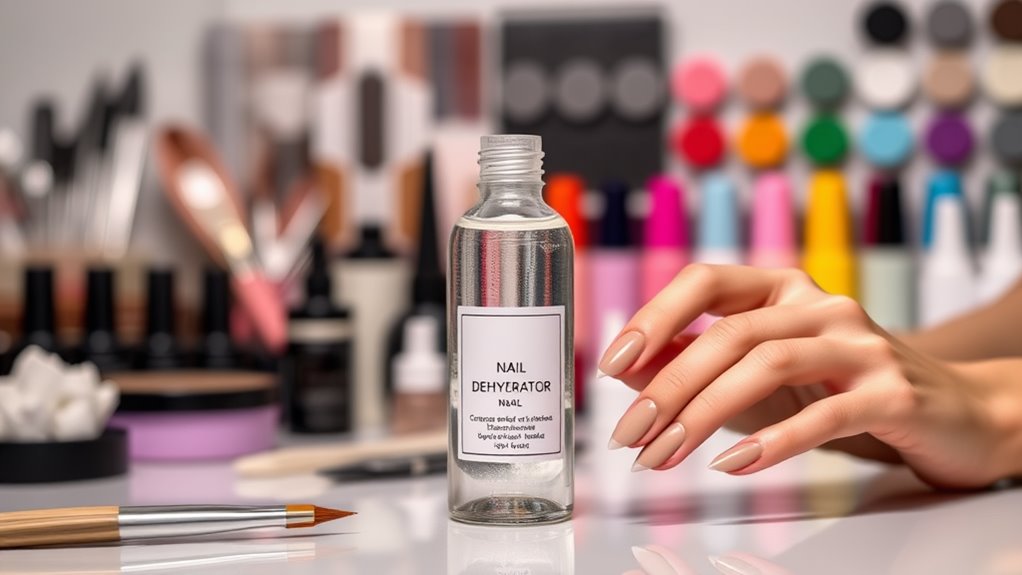
After you've pushed back those cuticles, it's time to apply a nail dehydrator. This step's essential for ensuring your gel nails stick well and last longer.
Grab your dehydrator and a lint-free wipe. Apply a small amount to the wipe, then gently swipe it across your nails.
You want to remove any moisture or oils on the surface. It's like prepping a canvas before painting—super significant!
Just make sure you're not over-saturating your nails, as that can cause issues later.
Use Base Coat
Now that your nails are prepped, it's time to grab that base coat!
Applying a base coat isn't just a step; it's an essential safety measure. It protects your nails and helps the gel adhere better. You want your manicure to last, right?
Here's what you need to keep in mind:
- Choose a quality base coat for better results.
- Apply a thin, even layer for smooth coverage.
- Avoid the cuticles to prevent lifting.
- Let it dry completely before moving on.
- Check for any bubbles; they can ruin your look!
Cure and Apply Gel Color

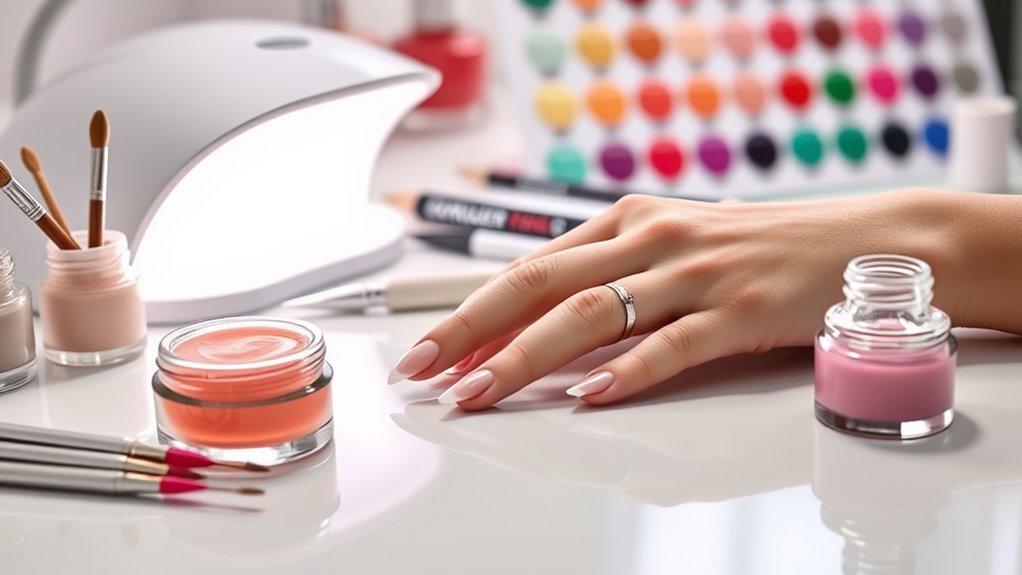
With your base coat all set and dry, it's time to bring some color into the mix! Choose your favorite gel color and apply a thin layer.
It's essential to keep it light—thicker layers can lead to smudging or peeling. Once you've got it on, pop your nails under the UV or LED lamp for the recommended time. This cures the gel, making it super durable.
Don't rush; let it cure completely. After that, check for any spots you might've missed and touch them up. Cure again if needed!
Ultimately, finish with a top coat for extra shine and protection. Voila! You've got fabulous, colorful nails that are safe and stunning. Enjoy showing them off!
Conclusion
Follow these steps, and you'll be on your way to gel nail glory. Just remember, it's not rocket science—unless your nails turn into a space shuttle, then we might need to chat. With a little preparation and care, you'll achieve that salon-quality look at home. Now get those nails ready to shine like the stars they are! Trust me, your fingers will thank you. Happy polishing!
