Did you know that your nails can be a canvas for self-expression at festivals like Coachella? You can create eye-catching designs that not only match your outfit but also showcase your personality. With just a few simple steps, you can transform your nails into stunning art pieces. Ready to learn how to nail this DIY project? Let’s plunge into the fundamentals that’ll make your manicure stand out in the crowd!
Essential Supplies for Your DIY Nail Art
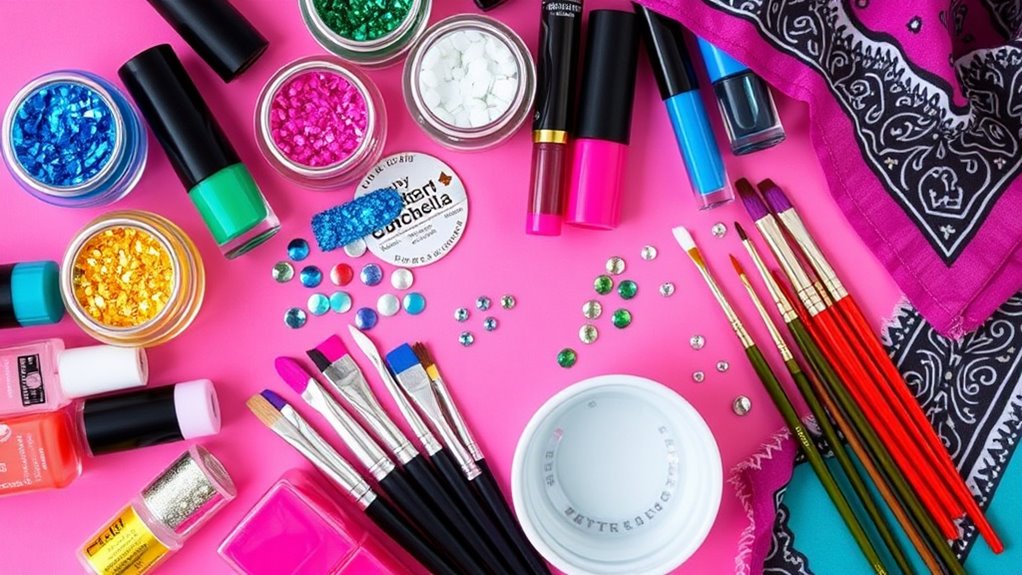
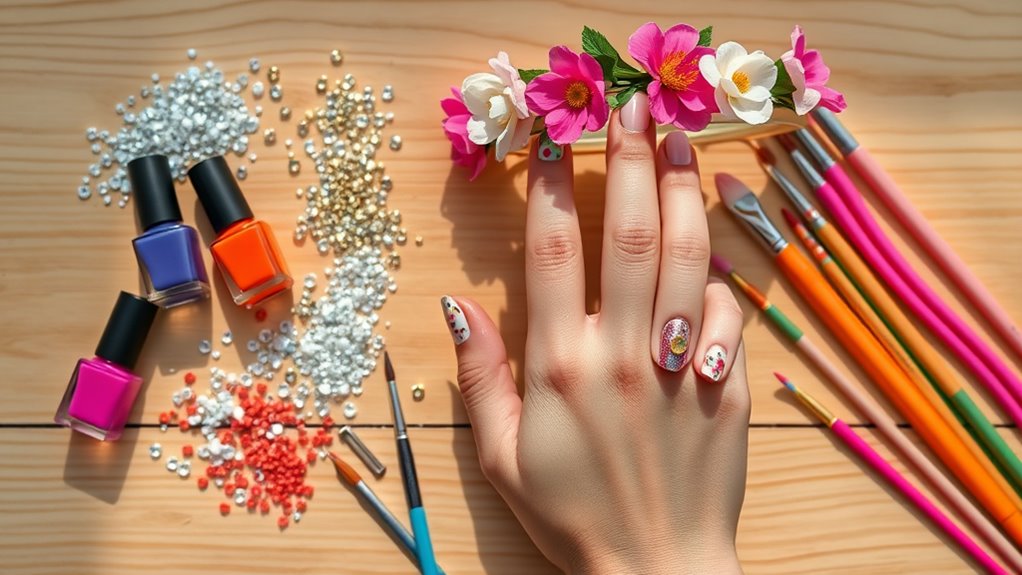
Getting your DIY Coachella nails ready is like prepping for a mini art show on your fingertips! To begin, gather your supplies. You’ll need a good base coat to protect your nails. Grab some vibrant nail polishes; think bold and fun!
Don’t forget a top coat for that glossy finish. Tools like nail brushes, dotting tools, and sponges are crucial for creating those intricate designs. Stickers or nail decals can add a pop of flair with minimal effort. Additionally, consider incorporating designs like polka dot delight or ombre effects to elevate your nail art game.
And, hey, keep some cotton pads and remover handy for any mistakes—trust me, it happens! Finally, a little creativity goes a long way. With the right supplies, you’re set to release your inner nail artist and rock those festival vibes!
Choosing the Perfect Color Palette
Nail art is all about color, and choosing the perfect palette can make or break your DIY Coachella nails!
Start by thinking about the vibes you want to channel. Bright hues, pastels, or even metallics can set the mood. Consider your outfit, too. You want your nails to complement your festival look, not clash with it.
Don’t shy away from mixing colors! A fun gradient or bold patterns can be eye-catching. For example, a sunny yellow paired with a vibrant pink is totally festival-ready. Incorporating vibrant neon shades can give your nails that extra flair and excitement.
Finally, think about seasonal trends. Are there colors everyone’s raving about this year? Incorporating those can give your nails an extra pop.
Preparing Your Nails for Painting
Before diving into the fun of painting your nails, it’s essential to prepare them properly. Start by removing any old polish. Use a gentle remover to keep your nails happy.
Next, shape your nails with a file. Go for a shape that suits you—square, round, or something funky!
Shape your nails to perfection with a file—choose a style that expresses your unique vibe!
Then, soak your fingers in warm, soapy water for a few minutes. This softens your cuticles. After that, push back your cuticles gently with a cuticle pusher. Don’t forget to trim any hangnails!
Finally, wash your hands and dry them well. Apply a base coat to protect your nails and help the polish stick. Remember, clean and sanitize your nails to ensure a safe environment for your manicure.
Now you’re all set for some fabulous nail art! Prepare to shine at Coachella!
Basic Nail Art Techniques to Try
Now that your nails are prepped and ready, it’s time to release your creativity with some basic nail art techniques!
Initially up, try dotting. Grab a toothpick or a dotting tool, dip it in polish, and make fun dots on your nails. Easy peasy!
Next, consider striping tape. Stick it on your nails to create cool geometric designs. Just paint over it, peel it off, and voila!
For a splash of color, use a sponge to create an ombré effect. Dab different polish colors on a makeup sponge and press it onto your nails. This technique is perfect for achieving ombre and gradient effects that will surely impress!
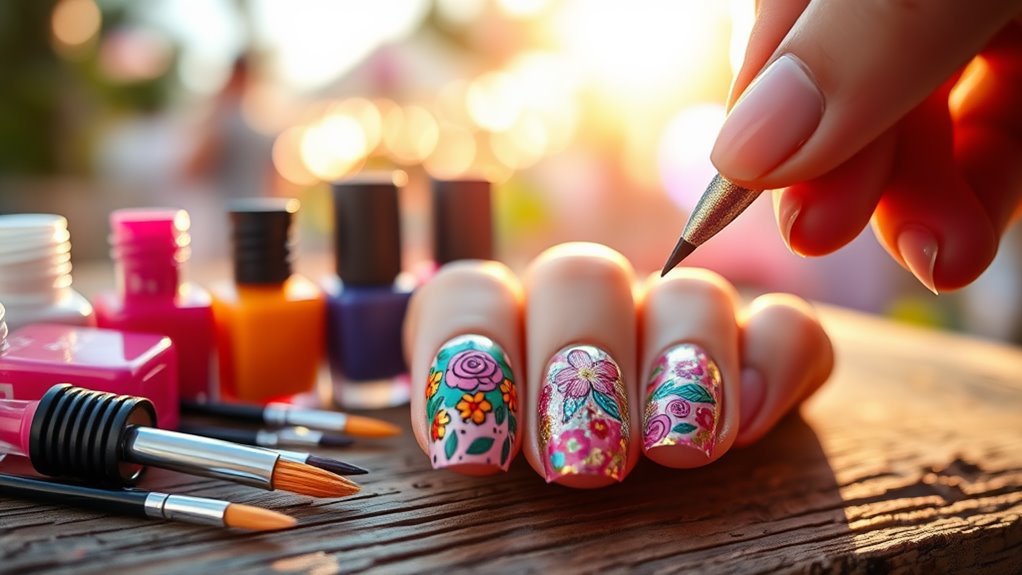
Finally, don’t forget about freehand! Grab a thin brush and let your imagination run wild.
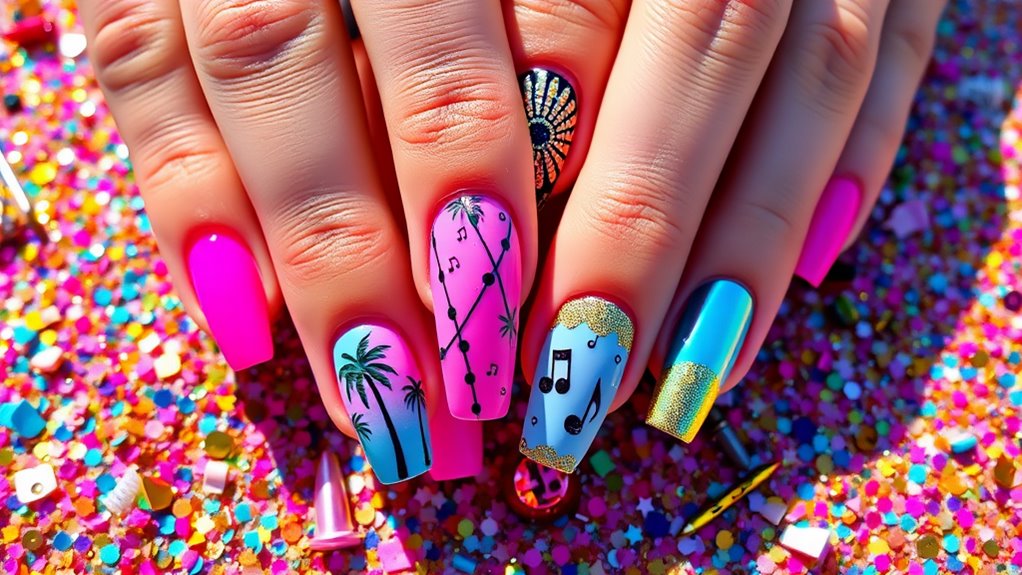
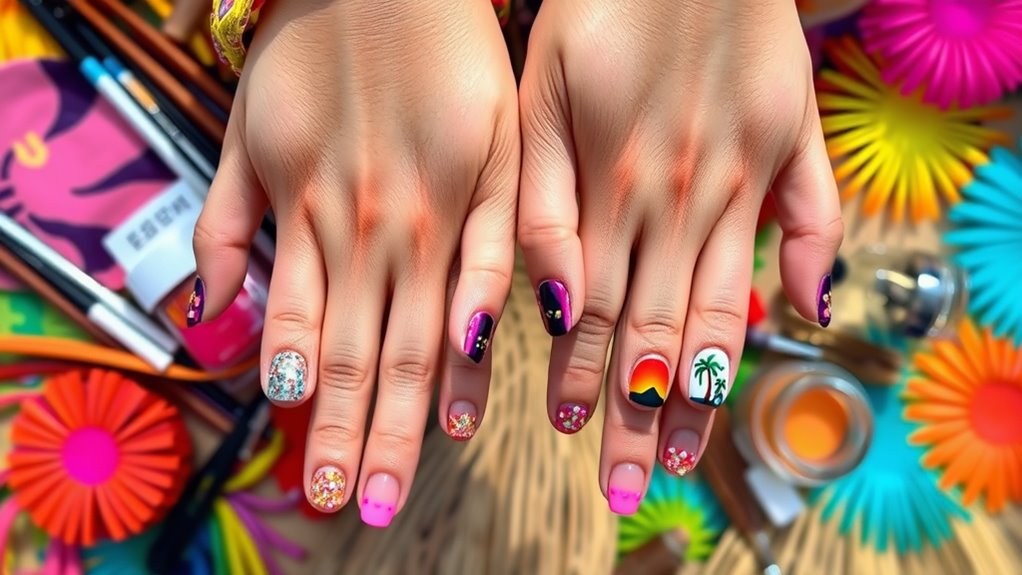
Fun and Trendy Design Ideas
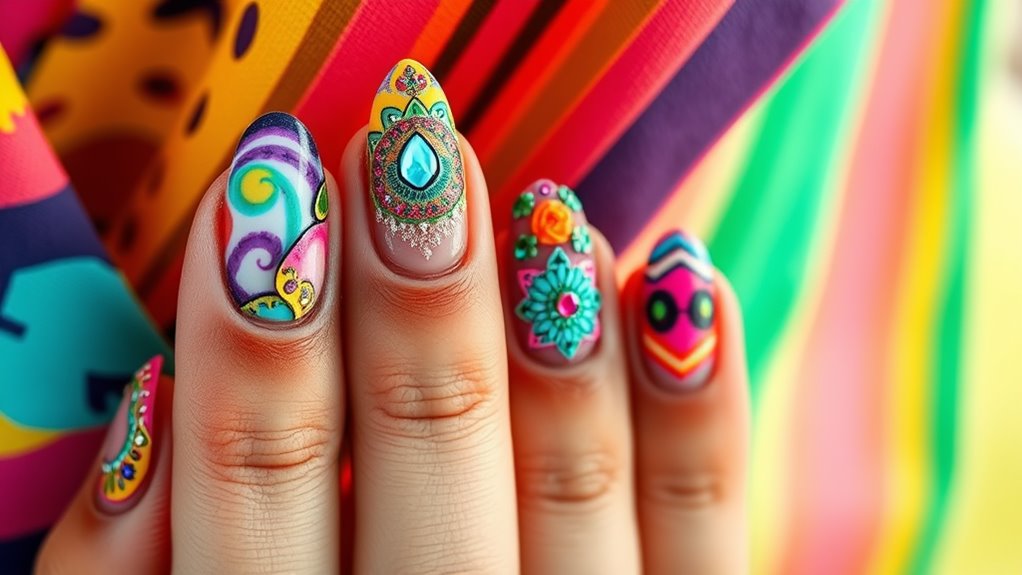
Prepare to improve your nail game with some fun and trendy design ideas!
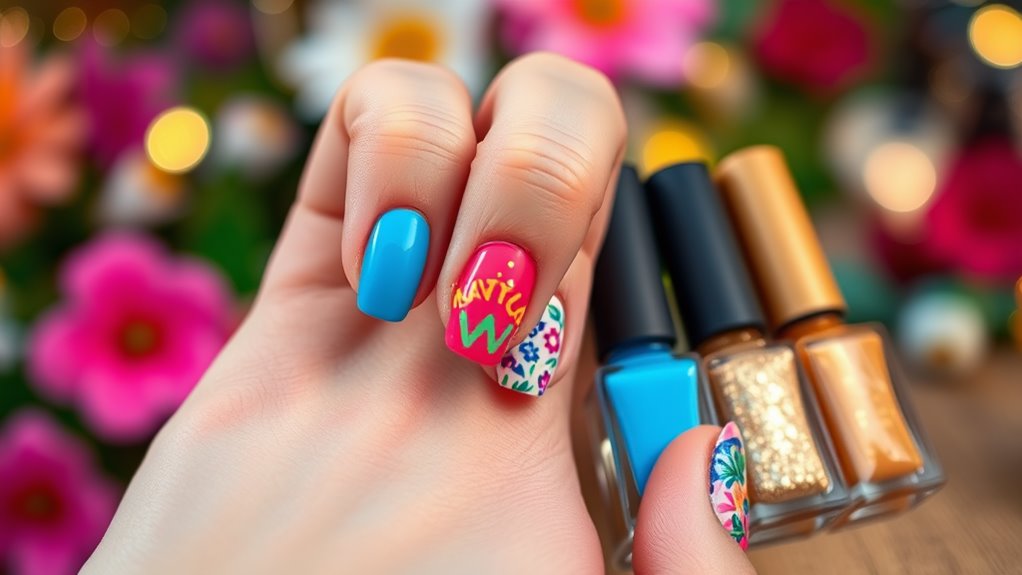
To begin, think bold colors. Bright pinks, yellows, and blues scream festival vibes. Try a tie-dye effect for a groovy touch—just sponge on different colors for that perfect blend.
Next, how about some abstract art? Simple swirls or geometric shapes can add a modern flair. If you’re feeling extra creative, use a dotting tool for funky polka dots or flowers.
Another great idea? Mix-and-match! Paint each nail a different design, but stick to a color palette for cohesion.
Lastly, don’t forget about negative space. Leave parts of your nails unpainted for a chic look. Incorporating tropical paradise nail art elements like palm tree silhouettes can elevate your festival-ready manicure.
Immerse yourself in these designs, and your nails will be the talk of the festival!
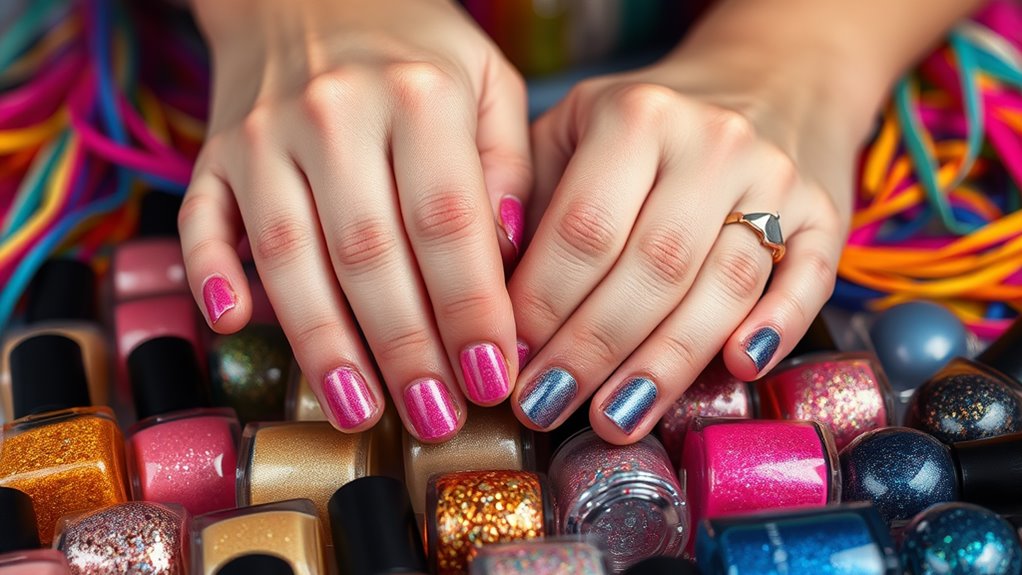
Adding Sparkle With Glitter and Gems
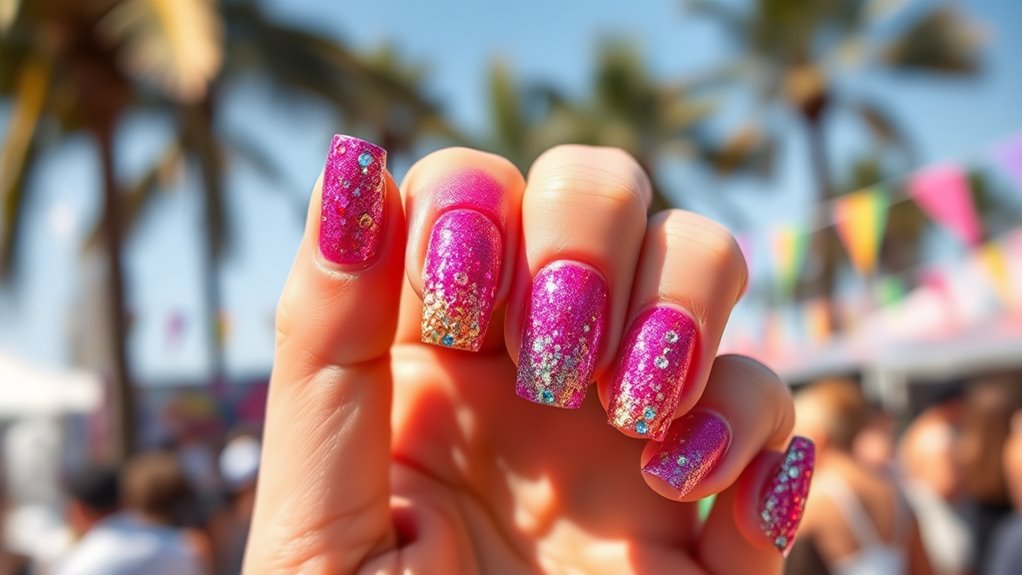
When you want to amp up your Coachella nails, adding sparkle with glitter and gems is a must! Grab your favorite glitter polish and apply it to your nails. You can go full-on glitter or just accent a few nails for a cool look.
Next, pick some fun gems—think rhinestones or tiny pearls. Use a dot of nail glue to secure them on your nails. Don’t overcrowd your design; a few gems go a long way! You can even create a cool gradient with your glitter. Remember to choose eco-friendly options for your glitter to keep your manicure sustainable.
Once you’ve got everything glued down, seal it with a top coat for extra shine and protection. Your festival-ready nails will totally stand out in the crowd! Now go shine like the star you are!
How to Create Ombre Effects
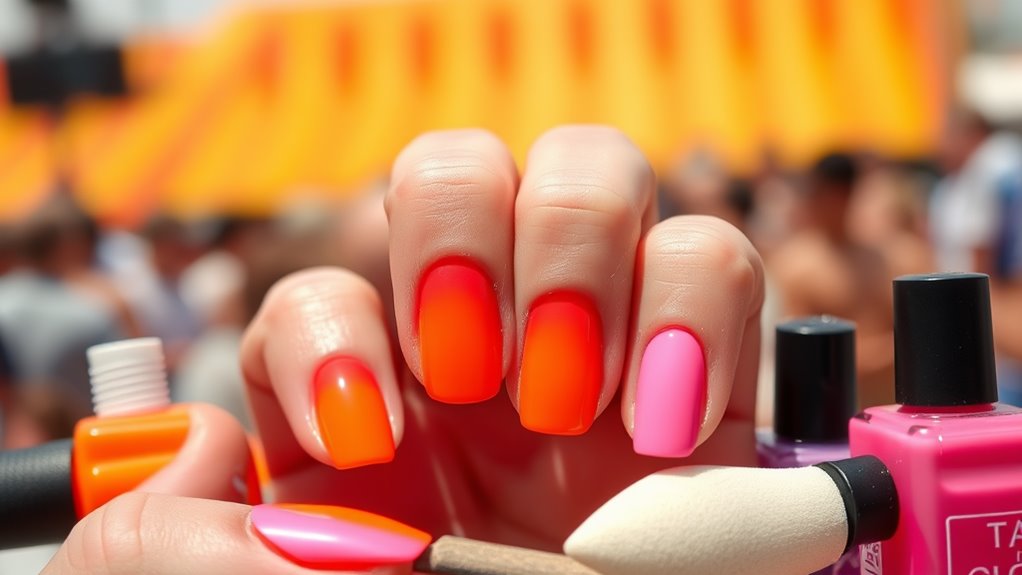
Creating ombre effects on your nails can feel like magic! To start, choose two or three colors that blend well. Grab a makeup sponge—yes, the kind you use for foundation.
Paint the colors side by side on the sponge. Then, gently press the sponge onto your nails, rolling it slightly to create that gradient effect. Keep layering until you get your desired look. This technique is similar to creating elegant ombre nails, which can be dressed up with glitter or kept simple.
Don’t forget to clean up the edges with a brush dipped in polish remover. Seal your masterpiece with a top coat for shine and protection.
Voilà! You’ve got stunning nails that’ll turn heads at the festival. Trust me, it’s easier than it sounds, and you’ll feel like a nail artist in no time!
Nail Art Tools You’ll Love
Nail art tools can transform your DIY nail game from basic to fabulous!
Initially, a good quality dotting tool is a must. It helps create perfect dots and intricate designs.
Next, grab some striping tape. This little guy makes clean lines a breeze!
A fan brush is also fantastic for adding texture and flair.
Want to get creative? Try using nail brushes for detailed artwork.
Don’t forget a good pair of tweezers for those tiny rhinestones or gems.
Finally, a sturdy topcoat is vital to seal everything in. Nail files are also essential for shaping and smoothing your nails before applying gel polish, ensuring a flawless finish.
With these tools, your nails will shine brighter than the Coachella sun!
Tips for a Long-Lasting Manicure
To keep your manicure looking fresh and fabulous for as long as possible, prepping your nails is key. Start by gently pushing back your cuticles and buffing your nails. Clean them with nail polish remover to eliminate any oils.
Next, apply a good base coat—it’ll protect your nails and help the color stick. When choosing your polish, go for high-quality brands that offer long-lasting formulas.
Applying a quality base coat is essential for protecting your nails and ensuring your polish lasts longer. Choose long-lasting formulas for the best results.
After applying your color, seal it with a top coat. Don’t skip this step! It adds shine and durability. A good top coat will provide an extra layer of protection against chips and scratches.
Finally, avoid hot water for a few hours after your manicure to let everything set. And remember, reapplying the top coat every few days can seriously extend your manicure’s life.
You’ve got this!
Showcasing Your Festival-Ready Nails

Festival season is all about expressing yourself, and your nails can totally be a part of that vibe! Show off your festival-ready nails by snapping some fun photos.
Find a colorful backdrop that matches your nail art. Bright walls or nature works great!
Get creative with poses. Try holding a drink or doing a peace sign. Don’t forget to use good lighting—it makes a huge difference!
Share your pics on social media with fun captions and relevant hashtags.
Consider a mini photoshoot with friends, showcasing everyone’s unique nail designs. You’ll inspire others to join the fun! Incorporating eco-friendly nail polishes into your designs not only enhances creativity but also promotes sustainability.
Conclusion
You’ve got this! Creating your own festival-ready nails is totally doable, even if you think you’re not crafty. Just remember, practice makes perfect! Don’t stress over tiny mistakes; they can add character to your design. Plus, you’ll be the one rocking unique nails that match your vibe. So grab those supplies, release your creativity, and let your nails shine at Coachella! Trust me, everyone will be asking how you did it! Enjoy the fun!