Did you know that 85% of people notice nails before anything else? That’s pretty wild, right? Elevating your nail game can really make a statement and show off your personality. From ombre effects to 3D elements, there’s so much you can investigate. So, are you ready to transform your fingertips into stunning art? Let’s plunge into some advanced techniques that will take your nails from basic to breathtaking!
Mastering the Art of Nail Preparation
Before you plunge into the colorful world of nail art, you’ve got to master nail preparation. Trust me, it’s the foundation of your masterpiece!
Start by cleaning your nails. Remove any old polish and wash your hands. Next, trim and shape your nails. Choose a style that suits you—square, round, or almond.
Begin your nail journey by cleaning, trimming, and shaping your nails into a style that reflects you—be it square, round, or almond.
Once that’s done, gently push back your cuticles. This step helps your nails look tidy and fresh. Don’t forget to buff the surface! It smooths everything out, making it perfect for polish.
Finally, apply a base coat. It protects your nails and helps your design last longer. A quality base coat is essential for protection and should be applied evenly. Nail prep doesn’t have to be boring; think of it as your canvas!
Get started, and let your creativity flow!
Exploring Advanced Nail Techniques
Once you’ve got nail prep down, it’s time to plunge into the exciting world of advanced nail techniques! You’re set to investigate techniques that’ll truly enhance your nail game.
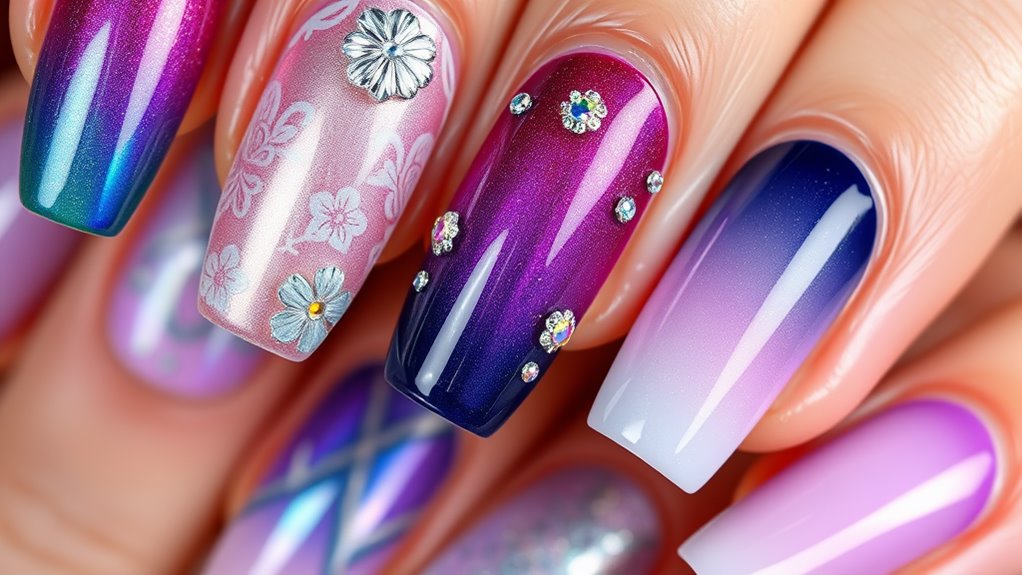
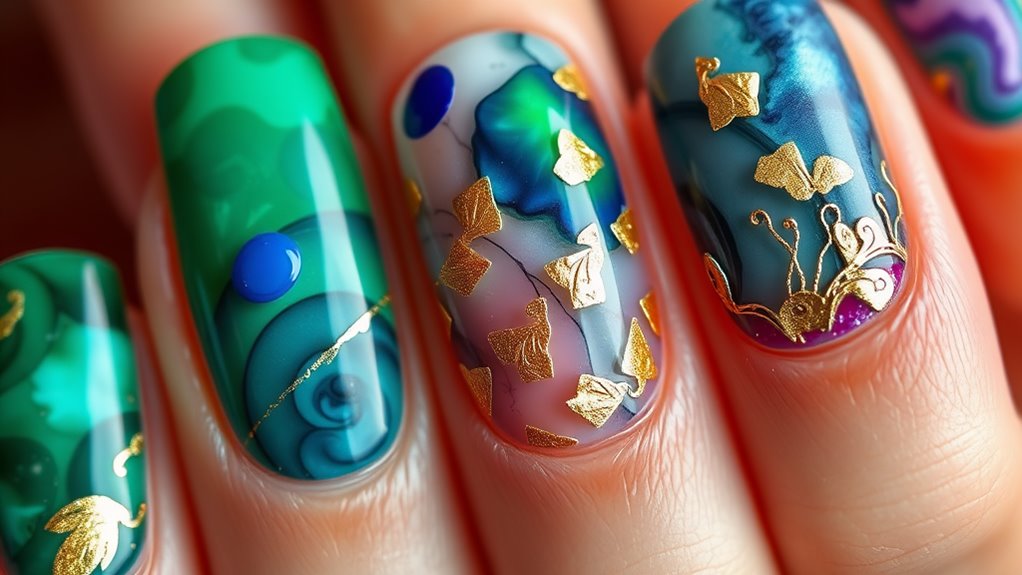
Think about ombre effects, where colors blend seamlessly. You can also try marbling, creating stunning swirls that catch the eye.
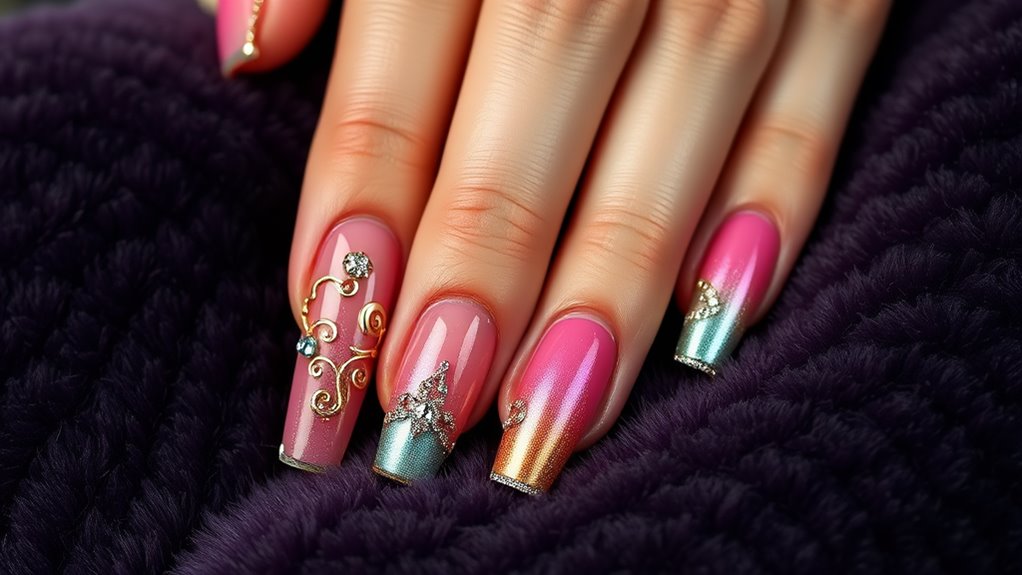
Have you heard about 3D nail art? It adds depth and fun with embellishments like gems and studs. Don’t forget about nail stamping—it’s like using a stamp to create intricate designs in minutes! Additionally, exploring negative space techniques can lead to unique and chic styles that highlight your creativity.
Each technique opens up a world of creativity. So grab your tools, and let’s start experimenting!
Creative Nail Art Ideas to Try
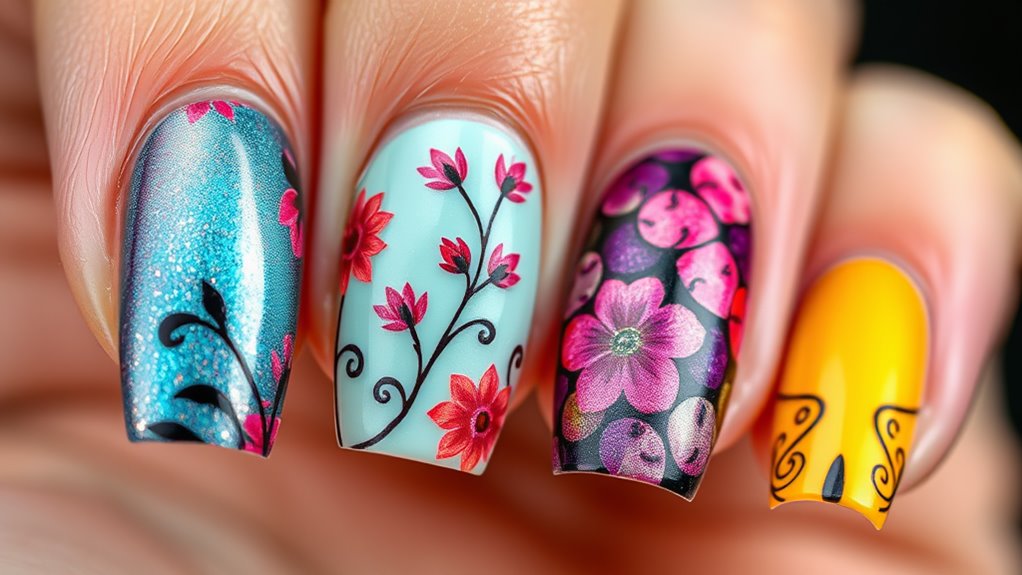
In the domain of nail art, the possibilities are endless! You can start with a simple ombré effect, blending two or more colors for a fresh look.
How about adding some geometric shapes? They’re trendy and super fun! You could also try negative space designs—leave parts of your nail bare for a chic twist.
For a playful vibe, why not paint cute doodles or tiny characters? Think of your favorite cartoon!
You can even experiment with textures, like matte finishes or shiny topcoats.
Feeling adventurous? Try a marble effect using water and polish. It’s easier than it sounds! Adding glitter gradient to your design can also enhance the sparkle and festivity of your look.
With these creative ideas, you’ll enhance your nail game and express your unique style. Go ahead, give them a shot!
Tools and Products for Stunning Designs
Creating stunning nail designs isn’t just about your artistic skills; the right tools and products make a huge difference!
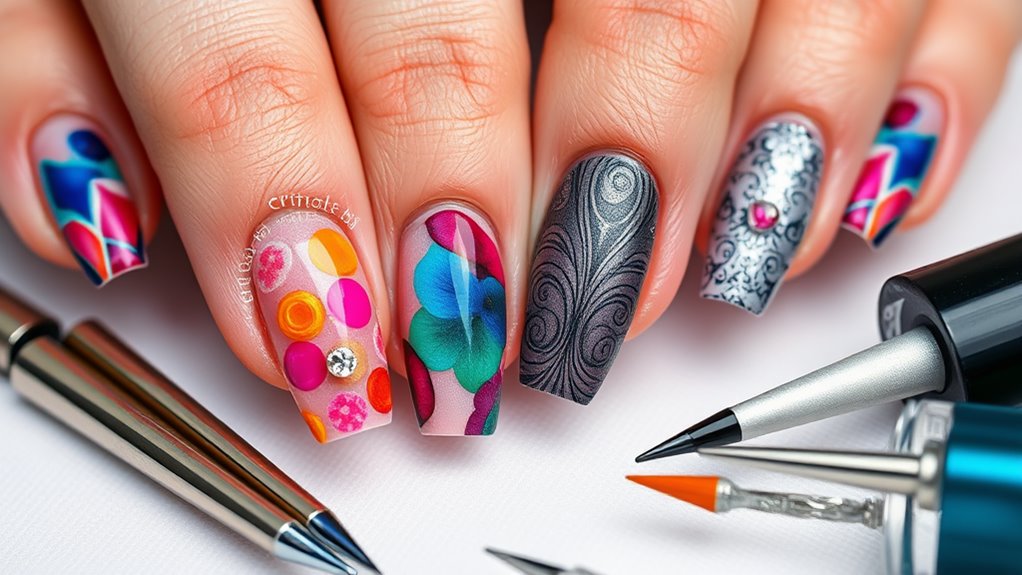
Start with a good quality base coat. It keeps your nails healthy and your art looking fresh. Nail brushes come in handy for precision work—get a few different sizes! You’ll love dotting tools for creating patterns and designs.
Don’t forget nail tape; it helps you achieve those sharp lines effortlessly.
Invest in quality polishes, too. They’re often more pigmented and last longer. Glitter, sequins, or nail stickers can add that wow factor in seconds! Additionally, gel nail preparation is crucial for ensuring that your designs adhere properly and last longer.
Ultimately, a top coat seals the deal, giving your art that shiny finish. With the right tools, you’ll turn nails into mini masterpieces!
Nail Care Tips for Long-Lasting Art
If you want your nail art to last, you’ve got to give your nails some love! Start with a good base coat. It protects your natural nails and helps your polish stick.
Keep your nails clean and dry before applying any products—moisture isn’t your friend here!
Moisturize your cuticles regularly. Dry cuticles can lead to chips and cracks.
And don’t forget to use top coat! It adds shine and protects your designs. Reapply it every few days for extra durability.
Avoid harsh chemicals when cleaning. Wear gloves if you can!
Finally, give your nails a break between designs. Let them breathe and rejuvenate. Regular hand washing with soap and warm water is also essential for maintaining nail hygiene.
With these simple tips, your nail art will stay fabulous longer. Happy polishing!
Showcasing Your Unique Style With Nail Art
Nail art isn’t just about pretty colors; it’s a fun way to express your personality! Think of your nails as a blank canvas. You can showcase your style with unique designs that reflect who you are.
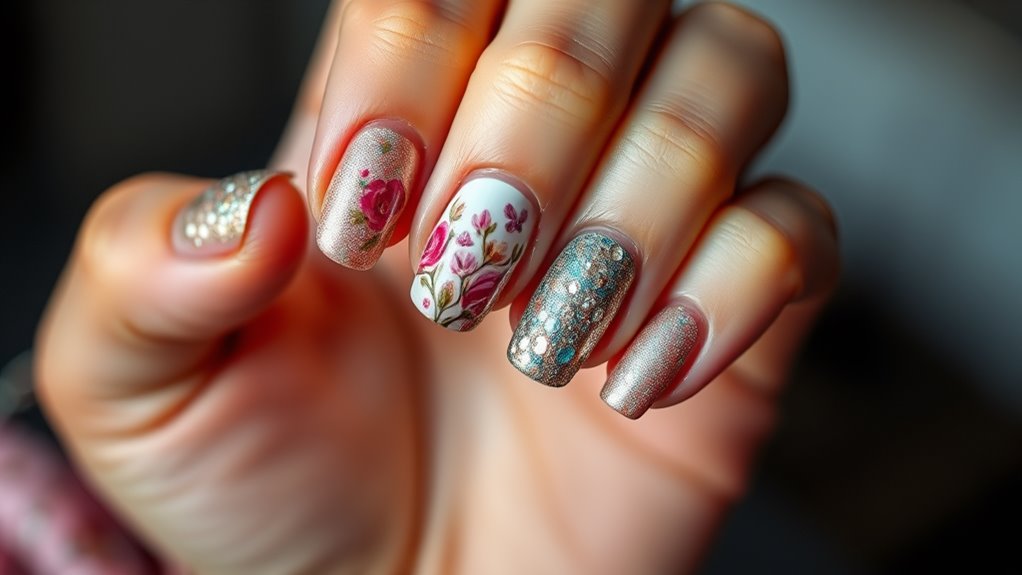
Love nature? Try floral patterns! Into the cosmos? Starry nails could be your thing!
You don’t need to be a professional artist to get creative. Grab some nail polish, stickers, or even rhinestones. Mix and match colors that resonate with you. Adding elements like glitter gradients can elevate your nail designs and make them stand out even more.
Don’t be afraid to experiment. Your nails can change with your mood or outfit. Plus, it’s a great conversation starter!
Conclusion
With a little practice, your nails can go from blah to brilliant. Who knew tiny canvases could hold so much potential? Welcome those advanced techniques, gather your tools, and let your creativity shine. Your nails aren’t just for scratching anymore—they can be a true expression of who you are. Remember, you’re not just painting nails; you’re creating masterpieces right on your fingertips. Now, go on and dazzle the world, one nail at a time!