
Imagine your nails transformed into tiny canvases, bursting with color and creativity! Soap nails are an exciting way to show off your style and express your personality. With just a few tools and some practice, you can create stunning designs that turn heads. Curious about how to get started? Let’s investigate the fundamentals, from prepping your nails to mastering techniques that’ll make your artwork shine!
What Are Soap Nails?
Soap nails are a fun and creative way to express yourself through nail art! They’ve got a fascinating soap nail history, dating back to when people initially started using different materials for nail decoration.
Over the years, the nail art evolution has brought us countless styles and techniques, and soap nails are definitely one of the coolest trends. You can shape and color your nails using soap, making it a unique canvas for your creativity.
Plus, it’s a great way to experiment without the commitment of traditional nail products. Whether you’re going for something bold or subtle, soap nails let you showcase your personality in a playful way.
Immerse yourself in this art form, and prepare to impress everyone with your artistic flair!
Tools and Materials Needed
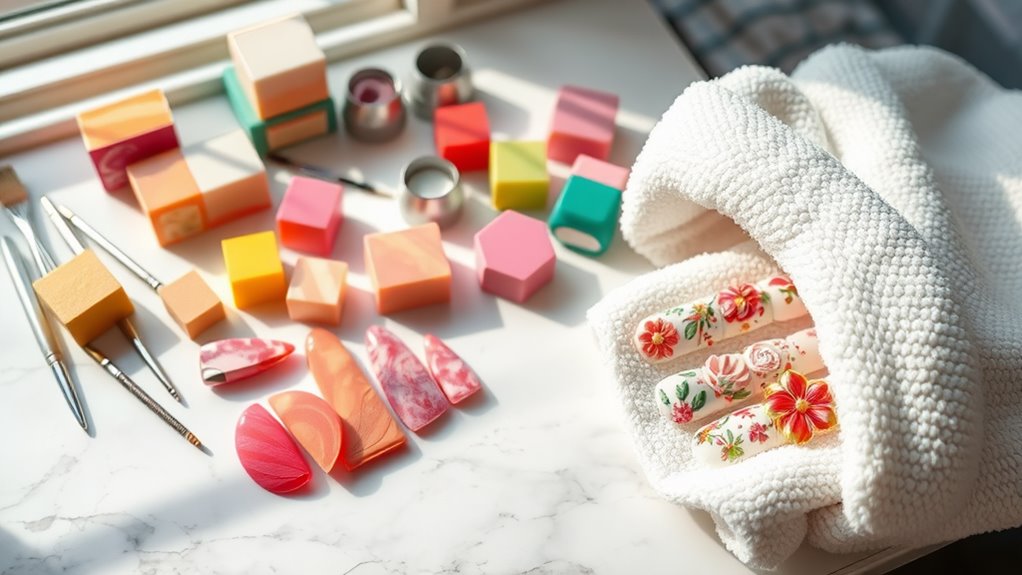
Ready to get creative with your soap nails? You’ll need some crucial nail tools and art materials to get started.
To begin, grab a good set of nail clippers and a file. These will help shape your nails perfectly. You’ll also want a cuticle pusher and some buffer blocks for a smooth finish. Proper use of cuticle pushers ensures a clean polish application, enhancing your overall nail art experience.
Start your creative journey with essential tools: nail clippers, a file, a cuticle pusher, and buffer blocks for that flawless finish.
Next, gather your art materials! Nail polish in fun colors is a must, along with brushes or dotting tools for intricate designs.
Don’t forget about stencils or stickers to add flair. A palette or mixing tray can help you blend colors seamlessly.
With these tools in hand, you’re all set to release your creativity and nail those soap designs! Let’s jump in!
Preparing Your Nails for Soap Art
Before diving into your soap art adventure, it’s crucial to prep your nails like a pro!
Start with nail preparation; clean your nails thoroughly. Remove any old polish and wash your hands to get rid of dirt and oils.
Next, give your cuticles some love. Push them back gently using a cuticle pusher, and if needed, trim any excess. This’ll help your soap designs stick better and look sharper.
Don’t forget to file your nails into your desired shape—smooth edges are key!
At last, apply a base coat to protect your nails and create a perfect canvas for your soap art. Regularly moisturizing your nails with coconut oil can also enhance their overall health and appearance.
With these steps, you’ll be ready to set free your creativity. Let’s get those nails looking fabulous!
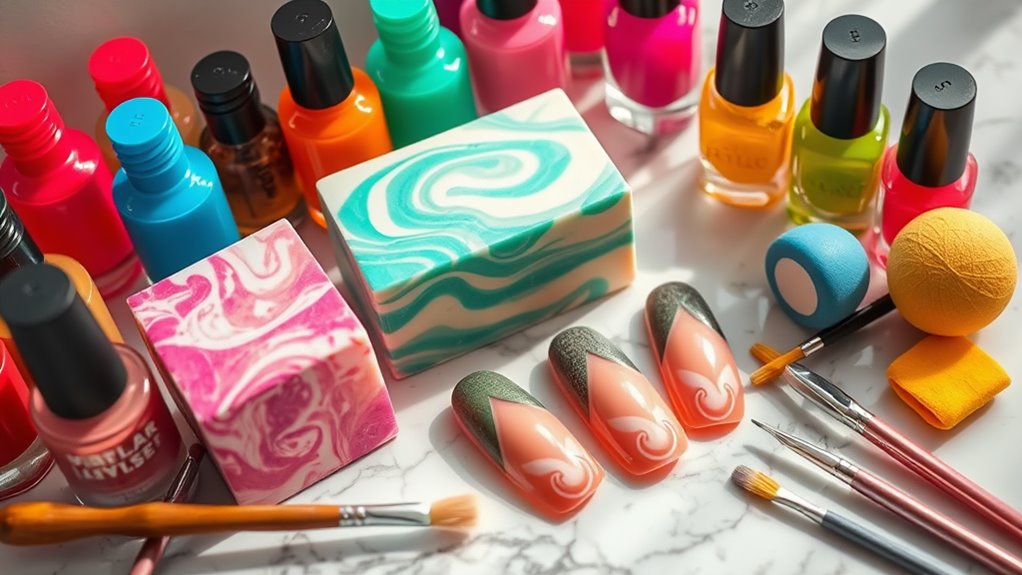
Basic Techniques for Soap Nail Art
Nail art lovers, get excited! Let’s explore some basic techniques for soap nail art.
To begin, choose your soap. A glycerin soap base works wonders for vibrant colors. Next, focus on your soap application. Melt the soap and pour it into your mold. You can add colorants or aromatic oils to jazz it up!
Once it’s cooled, carefully remove your soap nails.
Now for those nail art techniques! Try layering different soap colors for a stunning ombre effect. You can also use a toothpick to create swirls or patterns.
Don’t forget to experiment with shapes—hearts, stars, or even geometric designs! With these tips, you’ll be on your way to creating unique soap nail art that’ll wow everyone. Enjoy the process!
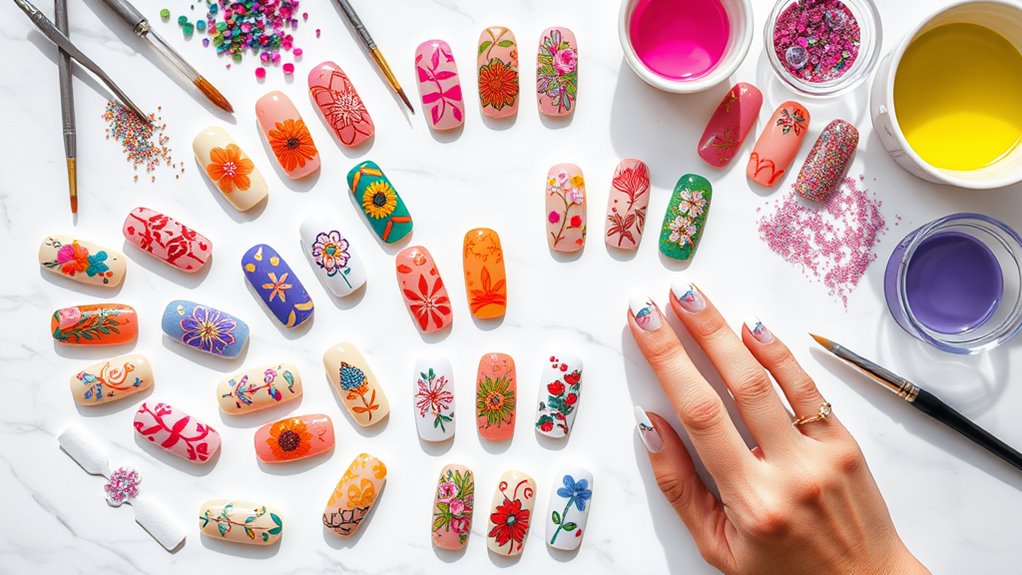
Creative Color Combinations
Let’s get those creative juices flowing with color! In terms of soap nails, vibrant palettes can take your designs to the next level. Think outside the box! Combine colors that resonate with seasonal themes for a fresh look. Check out this handy table for some fun color combos:
| Season | Color 1 | Color 2 |
|---|---|---|
| Spring | Pastel Pink | Mint Green |
| Summer | Coral | Turquoise |
| Fall | Burnt Orange | Olive Green |
| Winter | Deep Blue | Silver |
Mix and match these shades! Don’t be shy about experimenting. You’ll uncover unique combinations that reflect your personality. Remember, the best art comes from a splash of creativity! So, grab those colors and get started! Additionally, consider using pastel shades for a soft and trendy look that aligns with the seasonal vibe.
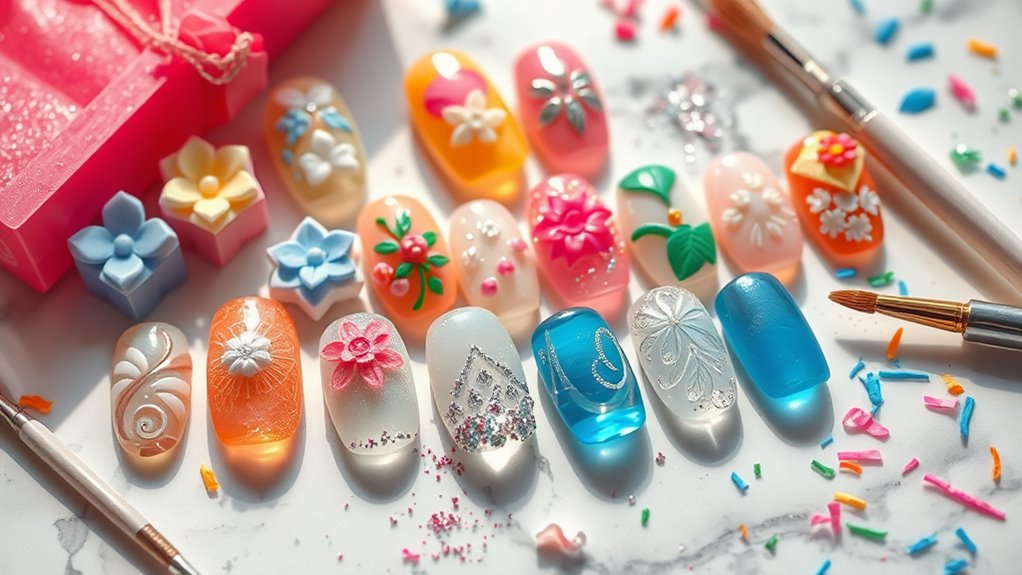
Popular Soap Nail Designs to Try
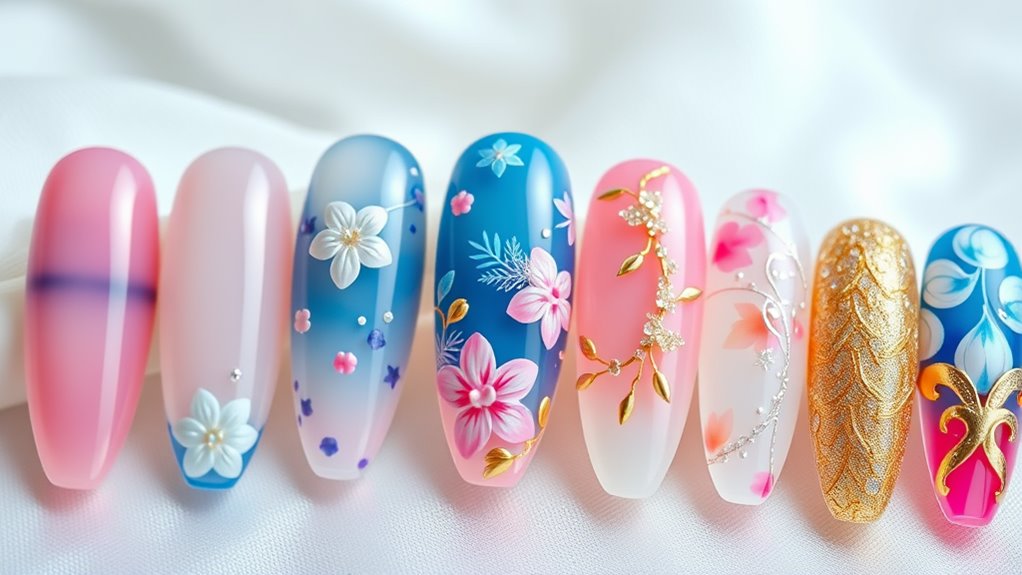
Ready to plunge into some fun soap nail designs? You’re in for a treat! These trendy colorways and intricate patterns will keep your nails looking fabulous.
Here are some popular designs you should try:
- Ombre Bliss: Blend two or more colors for a stunning gradient effect.
- Geometric Shapes: Use tape to create sharp lines and angles.
- Floral Fantasy: Paint delicate flowers for a fresh, spring vibe.
- Marble Magic: Swirl contrasting colors for a chic marble look.
- Animal Prints: Add some wild flair with leopard or zebra patterns.
Each design offers a unique way to express your style.
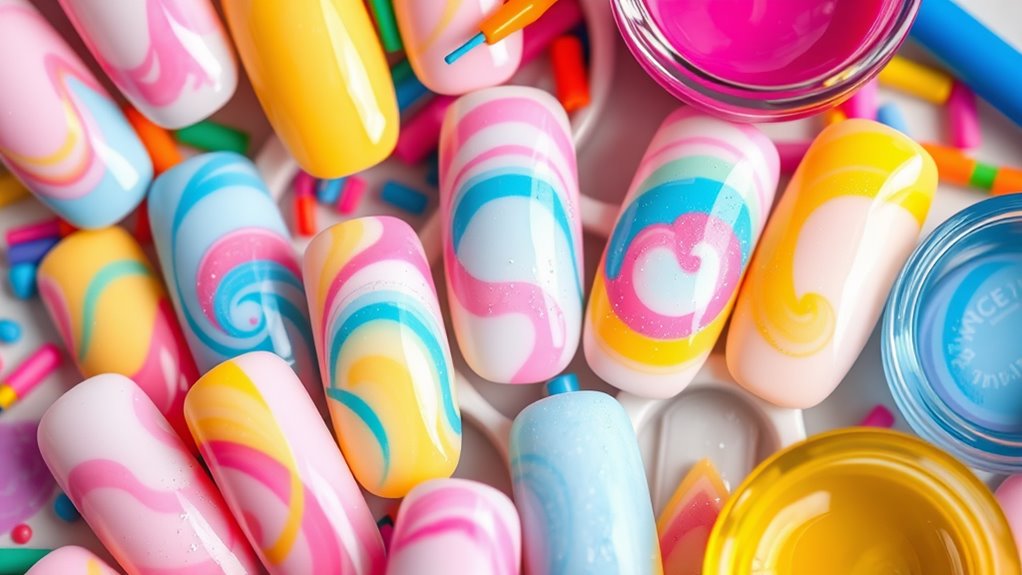
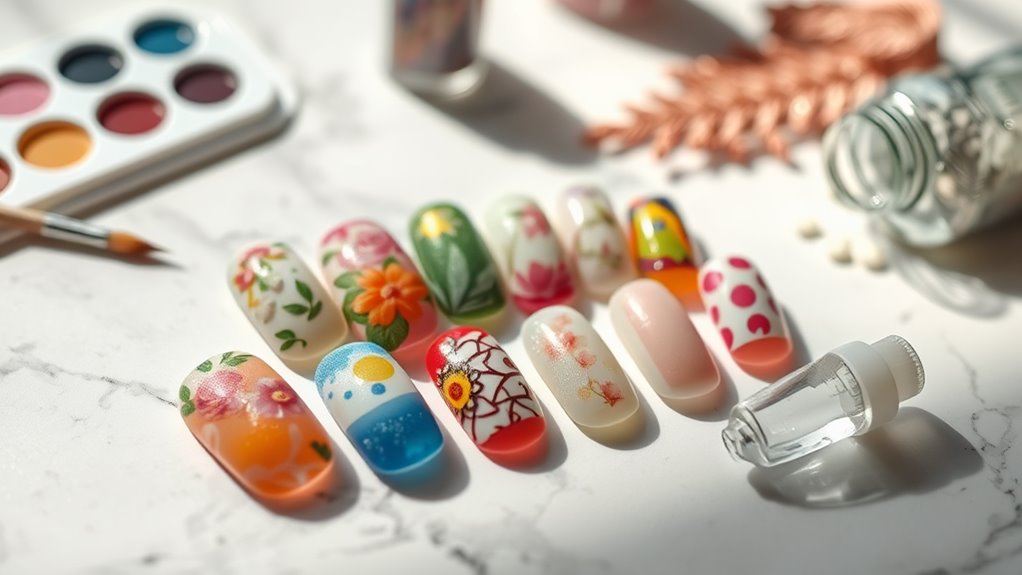
Step-by-Step Guide to Creating Soap Nails
Creating soap nails is an exciting way to express your creativity!
Initially, gather your supplies: soap, nail polish, and tools like a small brush and a sponge. Start by applying a base coat to your nails for protection.
Next, choose your colors and get inspired by popular nail art designs. You can use numerous soap nail techniques, like marbling or layering colors.
Once your base is dry, dip your sponge in the soap and gently dab it onto your nails. This creates an awesome texture!
Feel free to add glitter or small decals for extra flair. After everything’s dry, seal it with a top coat.
Voilà! You’re ready to show off your unique soap nails. Enjoy the compliments!
Tips for Long-Lasting Soap Nails

To keep your soap nails looking fabulous for longer, you’ll want to focus on a few key tips. Nail care is crucial for maintaining that stunning look.
Here are some longevity tips you won’t want to miss:
- Moisturize your hands and nails regularly to prevent dryness.
- Seal your soap nails with a topcoat to add extra protection.
- Avoid harsh chemicals that can wear down your soap.
- Limit exposure to water; wear gloves while doing dishes!
- Store your soap nails in a cool, dry place to maintain their integrity.
Common Mistakes to Avoid
Regarding soap nails, avoiding common pitfalls can make all the difference in your nail game.
To begin with, don’t skip nail care. Healthy nails are the foundation for any design. Neglecting this can lead to chips and breaks, which nobody wants.
Next, watch out for design pitfalls. Overcomplicating your design can result in a chaotic look. Stick to a few colors or patterns that complement each other.
Avoid design pitfalls by keeping it simple; a few complementary colors or patterns will elevate your soap nails beautifully.
Additionally, make sure your soap is high quality. Cheap soap can lead to lackluster results.
Finally, don’t rush the drying process. Patience is key!
Showcasing Your Soap Nail Art
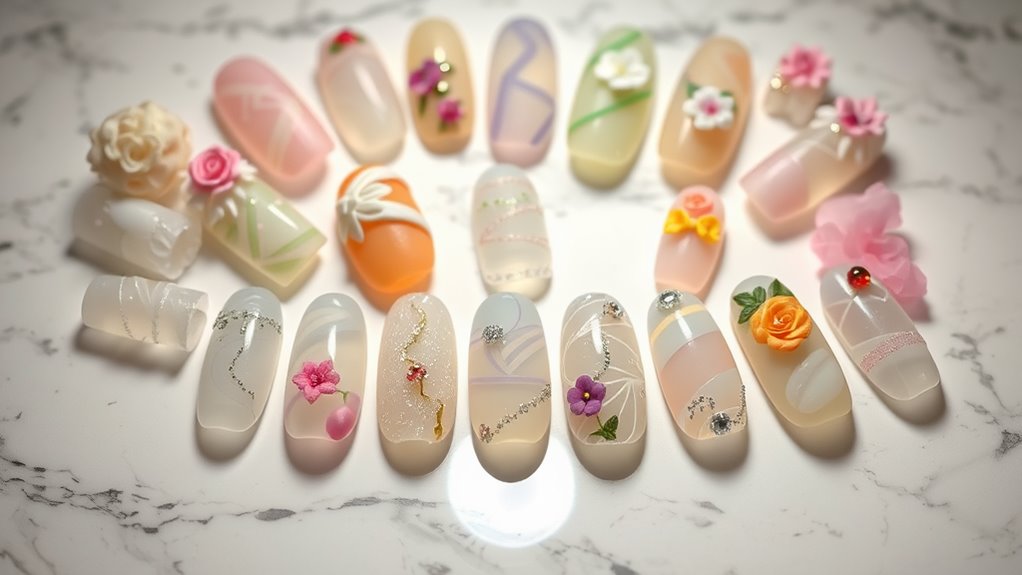
When you’ve put in the effort to create stunning soap nail art, showing it off becomes just as significant as the design itself. You want everyone to appreciate your hard work!
Here are some fantastic showcasing techniques to improve your nail art photography:
- Natural Light: Use daylight for the best colors.
- Clean Background: A simple backdrop makes your designs pop!
- Angles Matter: Experiment with different angles to find the best one.
- Props: Add a few cute items to augment your photos.
- Share on Social Media: Use hashtags to reach fellow enthusiasts!
Conclusion
So, there you have it! Soap nails aren’t just a trend; they’re a fun way to show off your creativity. With the right tools and techniques, you can turn your nails into tiny canvases. Remember, the key is practice and experimentation. Don’t stress over perfection—every design tells a story. Adopt your style, and let your nails reflect who you are. Now go ahead, get those colors flying, and make some amazing soap nail art that makes you smile!