
Did you know that proper nail prep can increase the longevity of your acrylics by up to 50%? It's true! Getting your nails ready isn't just a step; it's the foundation for an amazing manicure. You might think it's all about the color or design, but let's chat about the crucial techniques that can really make a difference. Curious about how to set yourself up for success? Stick around to uncover the top five game-changers!
Clean and Sanitize Your Nails
Before diving into your acrylic nail adventure, it's super crucial to clean and sanitize your nails. To begin, grab your favorite nail brush and some warm, soapy water. Scrub those nails gently to remove any dirt or residue. This step makes a huge difference!
Next, rinse thoroughly and dry your hands completely. For the sanitizing part, use an alcohol-based hand sanitizer. This kills germs and keeps your nails squeaky clean. Remember, you want to create a safe environment for your acrylics to thrive!
Finally, check for any hangnails or rough spots. Taking these precautions not only helps your nails look fabulous but also guarantees a healthier application.
Push Back Cuticles
Prepare to push back those cuticles! This step is super crucial for a smooth acrylic application. You want to make sure your cuticles are out of the way so the acrylic can adhere properly.
Here's how to do it safely:
- Use a cuticle pusher, but don't go crazy! Gentle pressure is key.
- Soften your cuticles with a bit of cuticle oil or cream first.
- Always work on clean, sanitized nails to avoid any infections.
- Don't forget to wash your hands after you're done!
File and Shape the Natural Nail
Now that your cuticles are pushed back and ready to go, it's time to focus on filing and shaping the natural nail. Grab a fine-grit nail file—this helps reduce damage.
Start by gently filing the edges of your nails. Move in one direction, not back and forth. This keeps your nails strong and prevents splitting.
Next, decide on your nail shape: square, oval, or almond? Whatever you choose, keep it consistent across all nails for that polished look!
Don't rush—take your time to get it just right. Remember, safety priority! If you feel any discomfort, stop and check your technique.
With these steps, you're well on your way to a fantastic acrylic application!
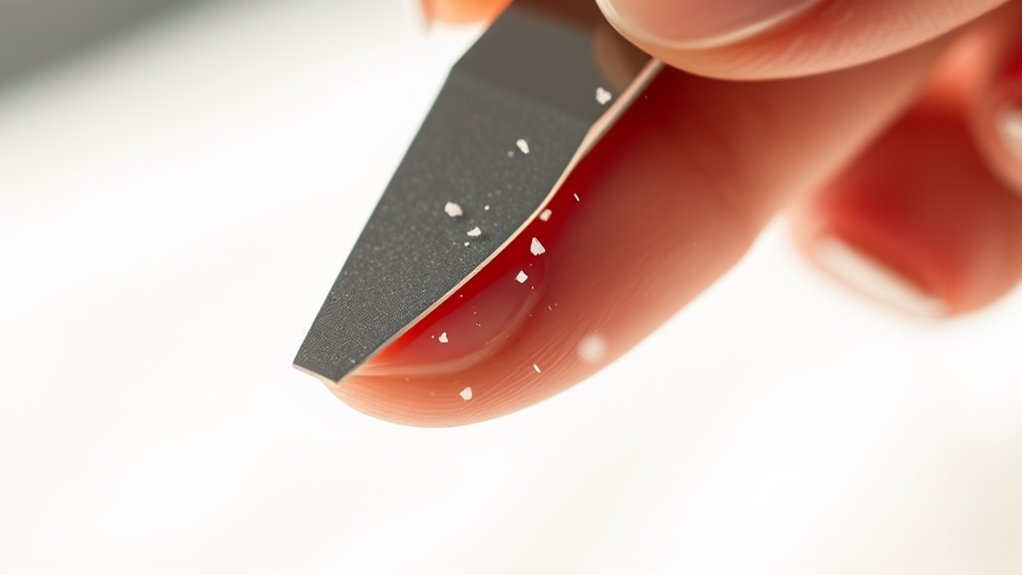
Buff the Nail Surface
Let's plunge into buffing that nail surface! This step is key to getting those acrylics to stick like glue. Buffing helps create a smooth, even surface for the acrylics to adhere to, reducing the chance of lifting. Plus, it gives your nails that nice, polished look!
Buffing your nail surface is essential for perfect acrylic adhesion, ensuring a smooth finish and a polished look!
Here's how to do it safely:
- Use a gentle buffer to avoid damaging your natural nails.
- Focus on the entire nail surface, but don't overdo it—less is more!
- Wipe away dust before moving to the next step.
- Always wear a mask if you're sensitive to nail dust.
Take your time and enjoy the process. Your nails will thank you, and you'll be one step closer to a fabulous acrylic finish!
Apply a Nail Primer
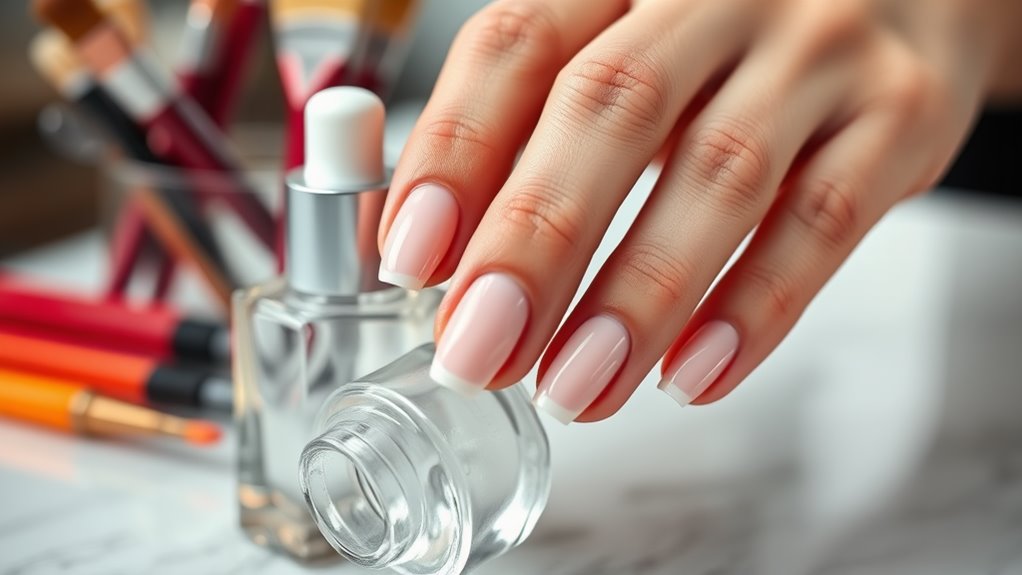
Prepare to amp up your acrylic game by applying a nail primer! This step is essential for a solid foundation. Nail primer helps the acrylic adhere better, reducing chips and lifts. Plus, it creates a barrier, protecting your natural nails.
Start by selecting a quality primer, preferably one that's acid-free for safety. It's less harsh and won't dry out your nails.
Apply a thin layer to clean, prepped nails. Make sure to cover the entire surface but avoid the cuticles. Let it dry completely—this usually takes just a minute.
Once you've got that primer on, you're ready for the fun part! Trust me; this little step makes a big difference in how your acrylics turn out. Happy prepping!
Conclusion
So, you're ready to rock those acrylics! By cleaning, pushing back cuticles, filing, buffing, and applying primer, you're setting yourself up for a fabulous finish. Isn't it exciting to think about how stunning your nails will look? With these prep techniques, you'll not only get a long-lasting manicure but also keep your natural nails safe. Immerse yourself in the process, and let your creativity shine! Remember, a little prep goes a long way!