Have you ever thought about turning your love for waffles into stunning nail art? International Waffle Day is the perfect excuse to get creative! Imagine buttery yellows and soft browns on your nails, mimicking that delicious treat. You can use fun techniques to create fluffy textures and even drizzle on some syrup for that extra pop. Curious about the best tools and designs to nail this theme? Let's investigate the delicious possibilities together!
The History of International Waffle Day
Did you know that International Waffle Day has its roots in Sweden? Yep, it's true! This fun day celebrates the delicious origins of waffles, which date back to the Middle Ages.
The Swedes originally honored the feast of Våffeldagen, or Waffle Day, as a way to mark the arrival of spring. It's a day filled with joy and tasty treats!
Waffles hold cultural significance in many places, symbolizing comfort and togetherness. In Sweden, people whip up their favorite recipes, stacking them high with toppings.
Essential Tools for Waffle-Inspired Nail Art
Ready to plunge into the sweet world of waffle-inspired nail art? You'll need some crucial nail art tools to get started!
To begin, grab a good base coat. It protects your nails and helps your design stick. Next, you'll want some nail polish in yummy colors—think golden browns and creamy whites.
Now, let's talk about texture brushes. These nifty tools are perfect for creating that waffle pattern we all love. You can use them to add depth and dimension to your design. Additionally, using thin, even coats of polish ensures a smooth application and prevents chips.
Don't forget a top coat to seal everything in!
With these tools in hand, you're all set to create deliciously cute waffle-inspired nails. Immerse yourself and let your creativity flow!
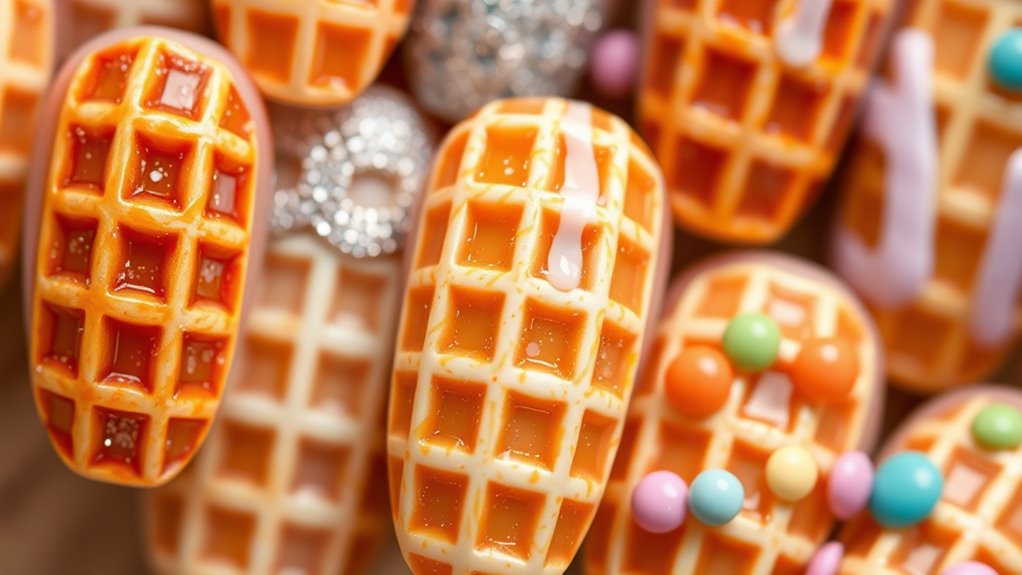
Color Palette: Choosing the Perfect Shades
Now that you've got your tools, it's time to think about colors! Choosing the right shades is essential for your waffle-inspired nail art. You want to create delicious color combinations that evoke the warmth and sweetness of waffles.
Here are three tips to help you nail it:
- Warm Neutrals: Think buttery yellows and soft browns. They mimic that golden waffle color!
- Seasonal Shades: Consider pastels for spring or rich, deep colors for fall. Each season offers unique vibes.
- Pop of Color: Add a bright hue like cherry red or blueberry blue for a fun twist! Incorporating pastel shades can add a delightful touch to your nail art.
Mix and match these ideas, and you'll create a mouthwatering palette that'll make your nails the talk of the brunch table!
Fluffy Waffle Nail Designs
If you want your nails to look as scrumptious as a stack of waffles, fluffy waffle nail designs are the way to go!
Think about those fluffy textures that make you want to dive right in. You can get creative with pastel colors that mimic the warm, golden tones of freshly cooked waffles.
Add some nail art that resembles whipped cream or berries for sweet inspirations that pop.
You could even use a sponge technique to create a soft, fluffy effect on your nails. It's like culinary art for your fingertips!
With these designs, your nails will be a delicious statement piece. So, grab your nail polish and let's whip up some fluffy waffle magic!
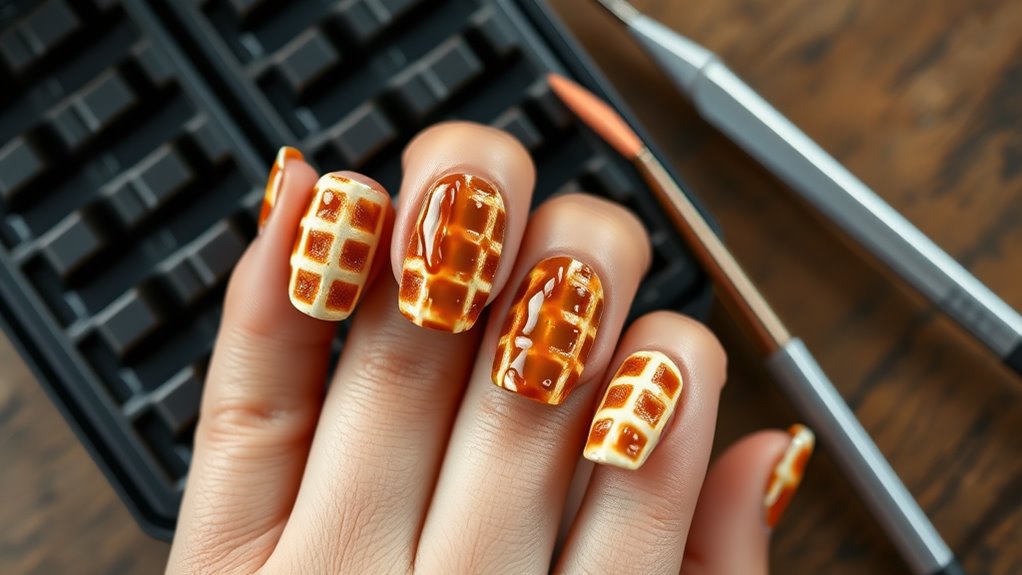
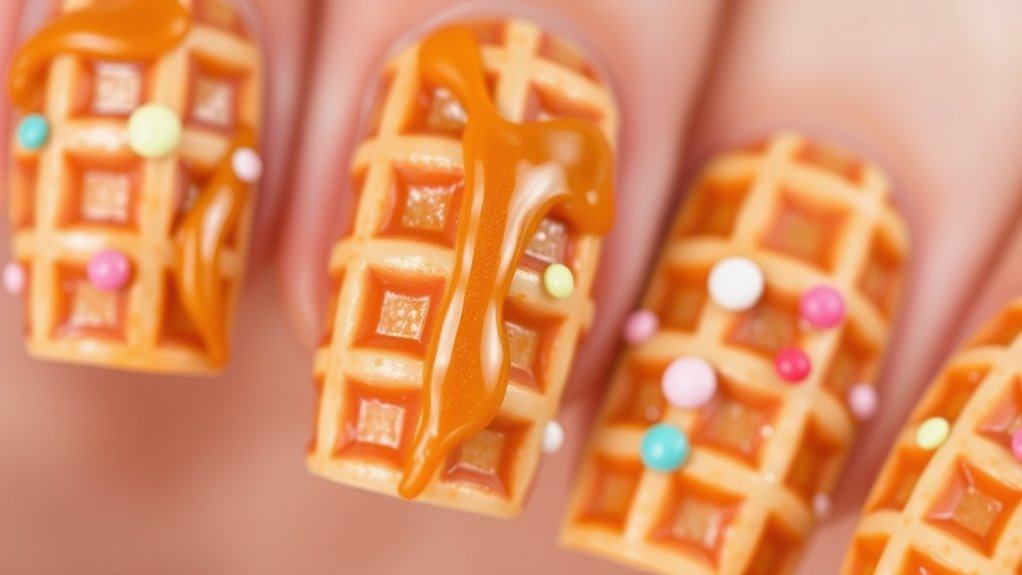
Syrup Drizzle Techniques for a Sweet Finish
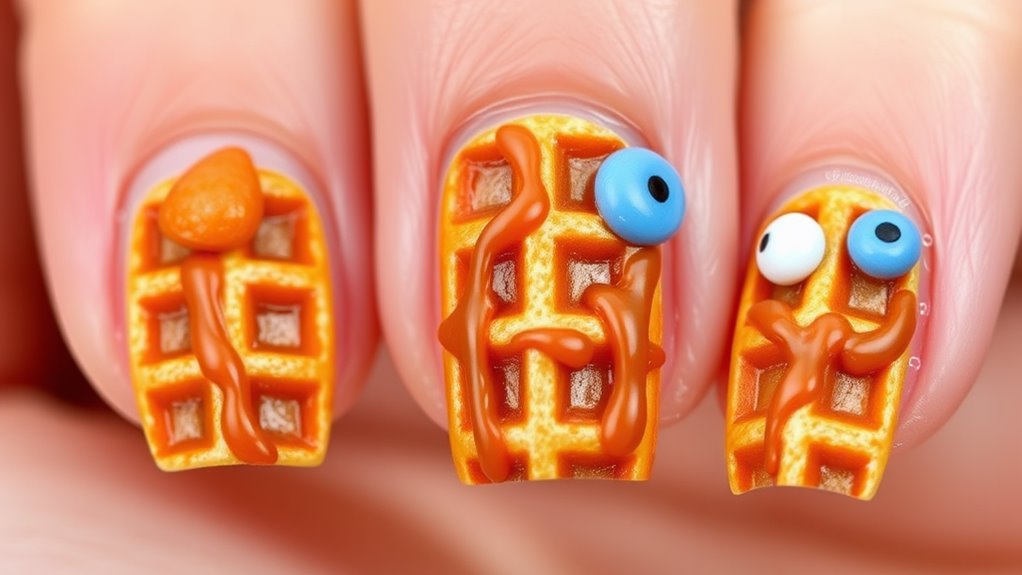
After you've nailed those fluffy waffle designs, it's time to add the finishing touch with some syrup drizzle techniques.
You can enhance your nail art with these easy syrup application methods that create delightful texture variations. Here's how to do it:
- Nail Art Brush: Use a thin nail art brush to create realistic syrup lines. Just dip it in your favorite brown polish and drizzle away!
- Dotting Tool: For a more playful look, use a dotting tool to add syrup droplets. This adds dimension and fun!
- Sponge Technique: Dampen a sponge and dab it in a mix of clear polish and brown polish. This gives a sweet, glossy finish that mimics syrup.
Additionally, consider using striping tape for clean, defined syrup lines that elevate your design.
With these techniques, your waffles will be deliciously irresistible!
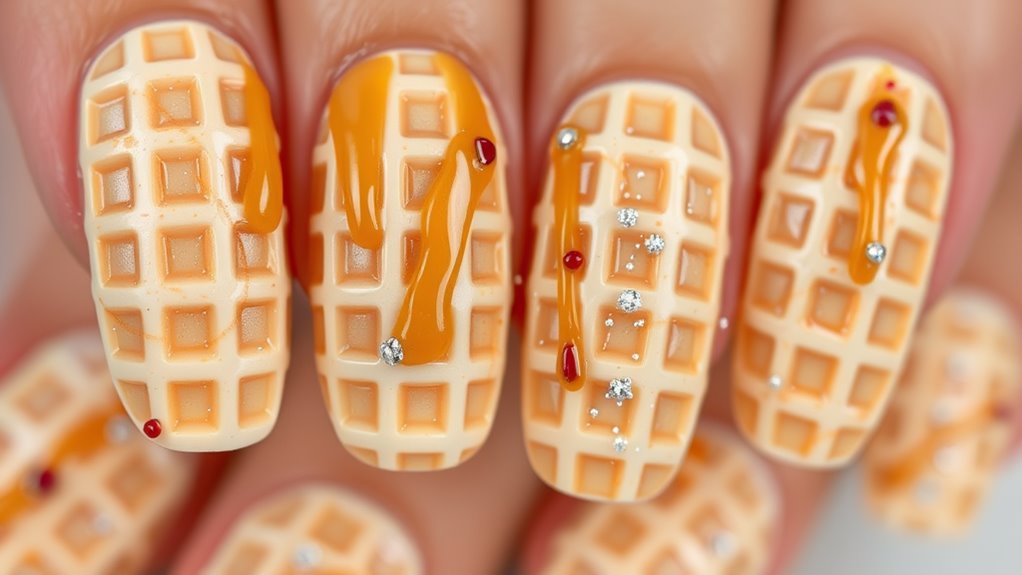
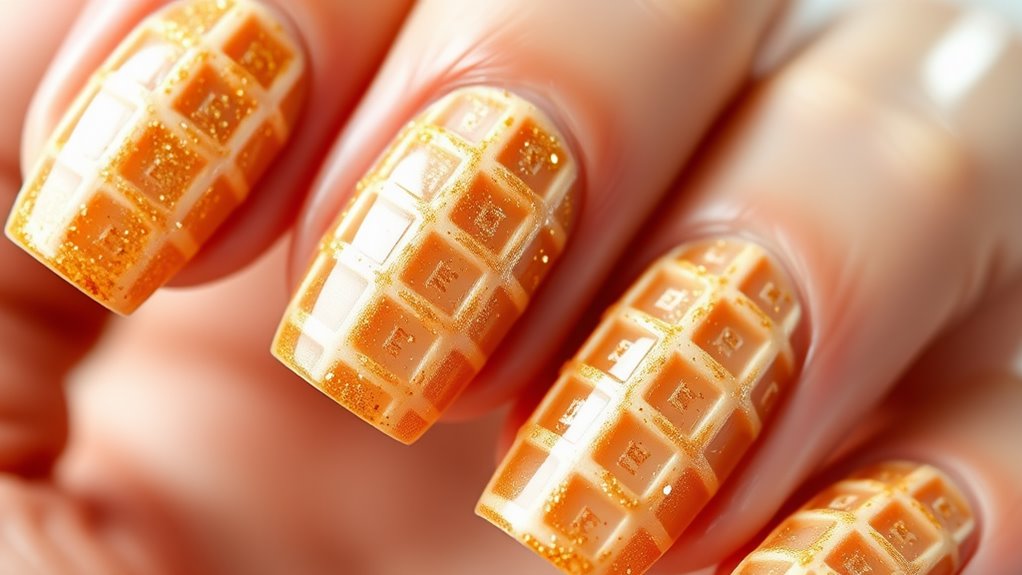
Waffle Grid Patterns: Step-by-Step Guide
Creating waffle grid patterns on your nails is super fun and totally doable! Start by picking a base color that screams "waffle." Think warm browns or creamy yellows.
Once that's dried, grab a thin nail brush or a striper. Dip it into a contrasting polish and draw horizontal lines across your nails. Then, do the same with vertical lines to create that waffle texture.
Make sure your lines are evenly spaced for a crisp grid design. If you wanna get fancy, you can add a glossy topcoat for a syrupy shine! This glossy finish can also enhance the vibrancy of bold color choices to elevate your nail art to the next level.
Finally, don't stress about perfection; the charm is in the uniqueness. Now, you're ready to show off your deliciously creative nails! Enjoy the waffle vibes!
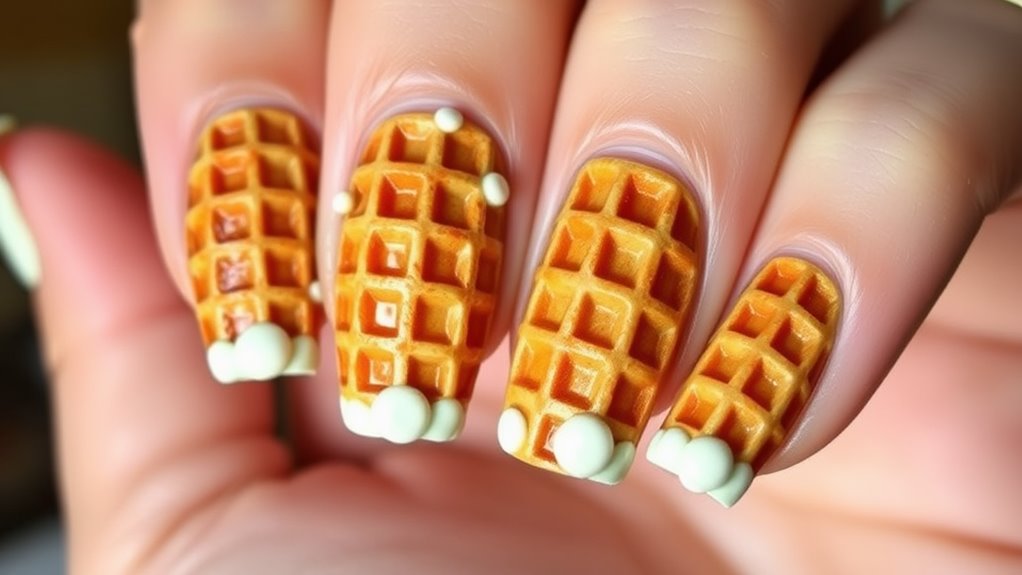
3D Nail Art: Adding Texture to Your Waffles
Want to take your waffle-inspired nail art to the next level?
Let's explore adding those scrumptious waffle textures with some fun nail techniques!
Here's how you can do it:
- Texture Paste: Use a texture paste to create that deliciously bumpy waffle feel. Just apply it before your base coat!
- Sponge Technique: Use a makeup sponge to dab on different shades of brown. It mimics the caramelization perfectly!
- Dotting Tool: Grab a dotting tool to create small, raised dots on your nails. This adds depth and makes your waffles pop!
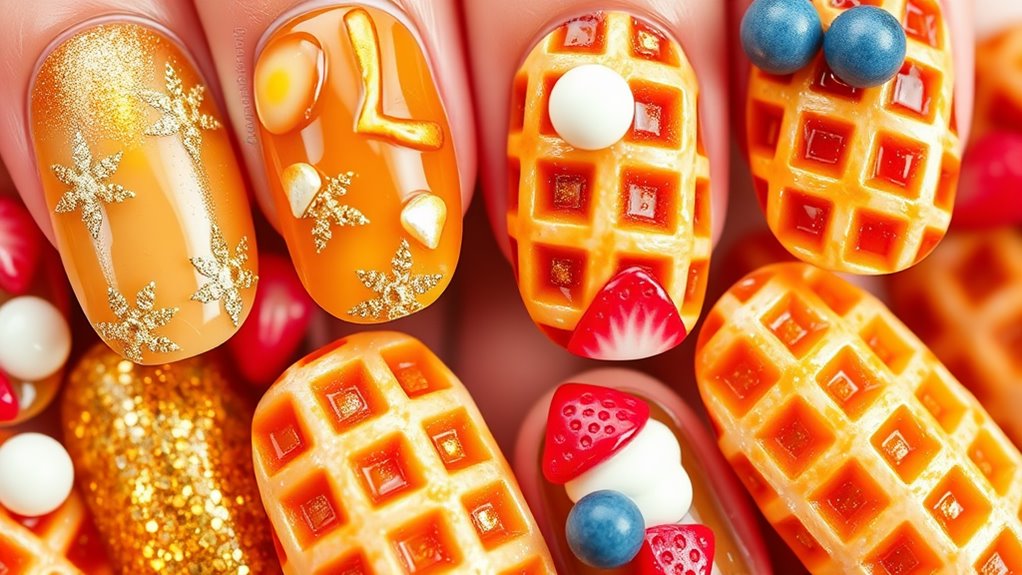
Creative Toppings: Fruit and Whipped Cream Accents
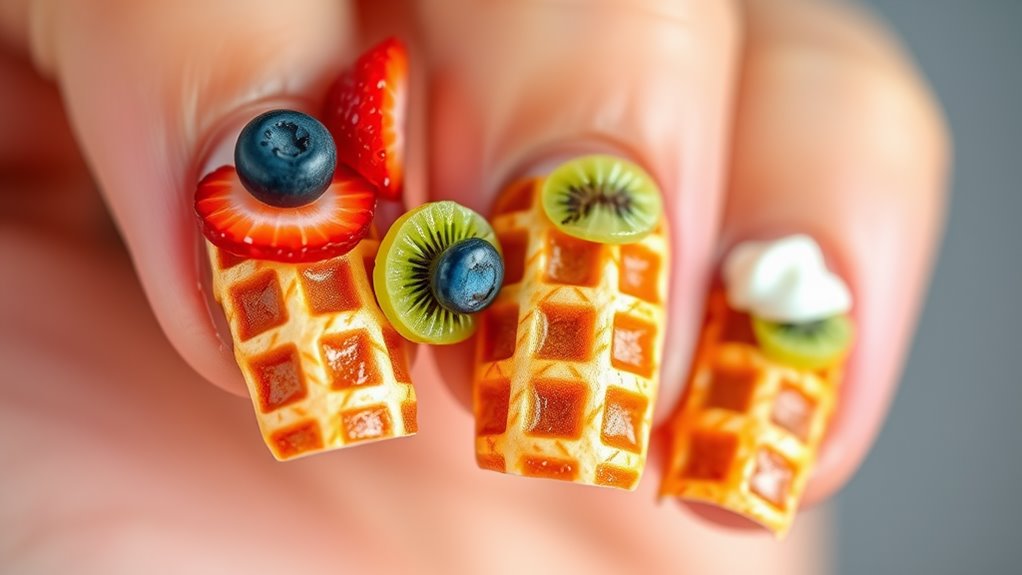
Nail art isn't just about the base; it's all about those fun toppings! You can totally enhance your waffle-inspired design with colorful fruit toppings and fluffy whipped cream accents. Imagine vibrant strawberries, blueberries, or bananas popping against a waffle-like background.
Check out this table for some tasty ideas:
| Fruit Toppings | Whipped Cream Accents |
|---|---|
| Strawberries | Swirls |
| Blueberries | Dots |
| Bananas | Peaks |
| Kiwi | Puffs |
You'll create a deliciously eye-catching look that's sure to impress! Just think of how fun it'll be to show off your nail art that's almost good enough to eat. So grab your brushes and get creative!
Nail Art Stickers and Stencils for Waffle Designs

Ready to take your waffle-inspired nail art to the next level? Nail art stickers and waffle stencils are your best friends! They make it super easy to create those delicious designs without the mess.
Here's how you can use them:
- Pick Your Stickers: Choose stickers that match your waffle theme—think syrup drips or fruit accents.
- Use Waffle Stencils: Place stencils on your nails and paint over them for that perfect waffle texture.
- Layer and Shine: Add a top coat to seal your design and give it that glossy finish.
With these tools, you'll nail your waffle nail art in no time. So get creative and let those waffle vibes shine through!
Showcasing Your Waffle Nail Art on Social Media
How do you show off your awesome waffle nail art to the world? Social media is your best friend! Start with some eye-catching photos. Use natural light to capture those delicious details. Experiment with showcasing techniques like close-ups and different angles.
Don't forget to include a fun caption that highlights your creativity! Engage with your followers by asking them their favorite waffle toppings or nail art tips. Use relevant hashtags like #WaffleNails or #NailArt to connect with fellow enthusiasts.
You might even inspire someone else to get creative! And remember, it's all about having fun. So, let your personality shine through as you share your waffle nail art adventure. Prepare for those likes to roll in!
Conclusion
Waffle-inspired nail art is a fun way to celebrate International Waffle Day. With the right colors and techniques, you can turn your nails into a tasty treat. Remember, your creativity is the secret ingredient! Whether you're drizzling syrup or adding fruity toppings, let your imagination run wild. Prepare to show off your delicious designs on social media – your nails will be the talk of the town. Happy nail art!